

Samsung has multiple built-in font styles to choose from in TouchWiz, but they're limited to just four types. While there are many font installers available on Google Play, they usually cost money and only replace some of the text on the device, not all of it, creating an inconsistent and erratic user interface.
However, if you don't have root access, Samsung's built-in fonts are a good way to instantly refresh the look and feel of your Galaxy Note 3. I'll quickly show you how to do this, and then after, I'll show a more elaborate option with over 150 free fonts for root users. If you're not rooted, this might actually make you want to be.
How to Change System Fonts in Settings (No Root Required)
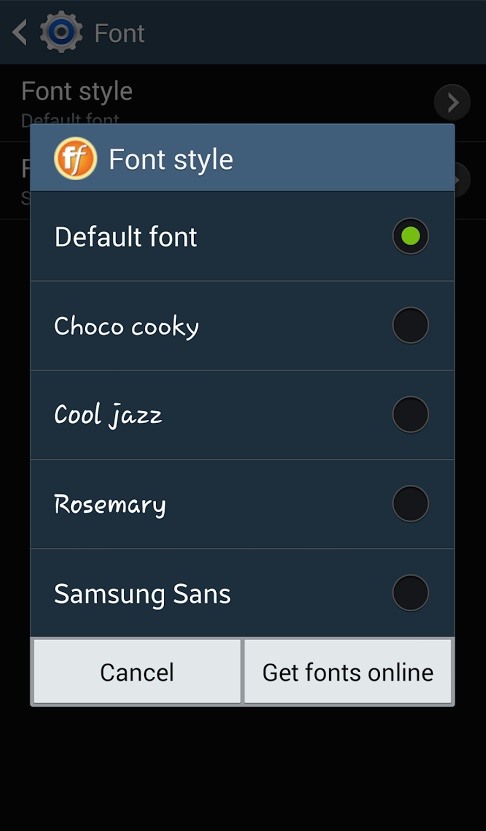
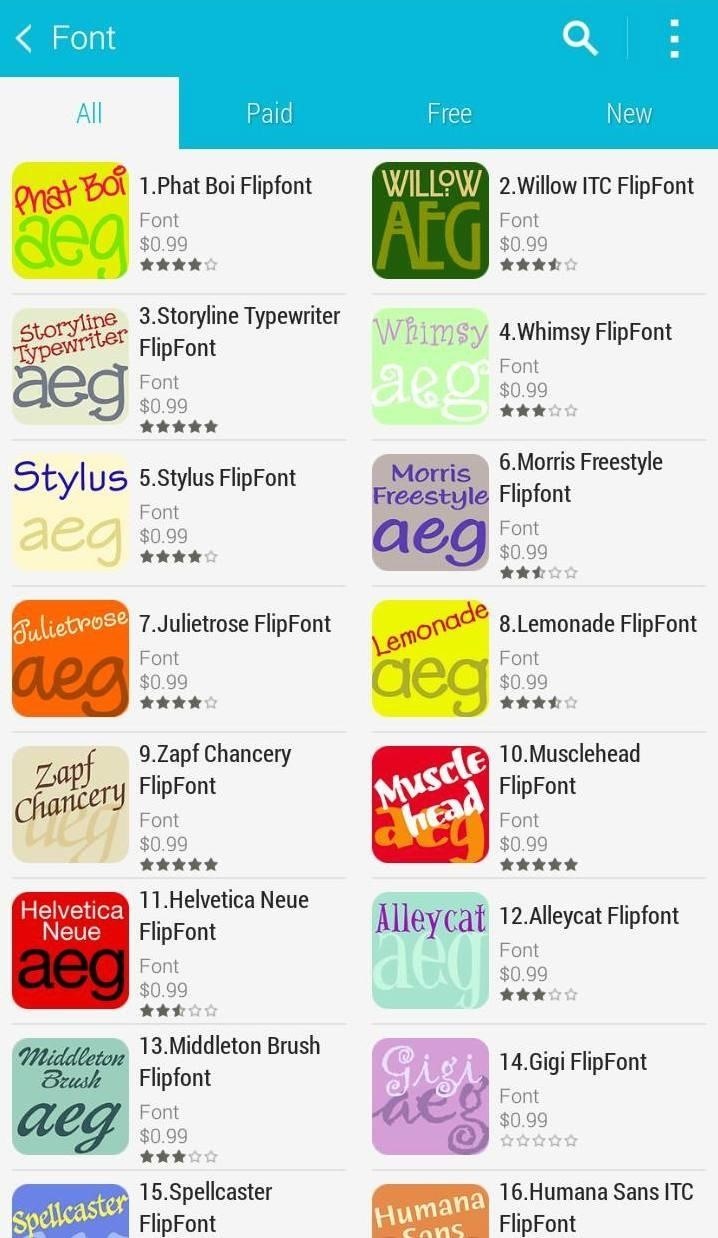
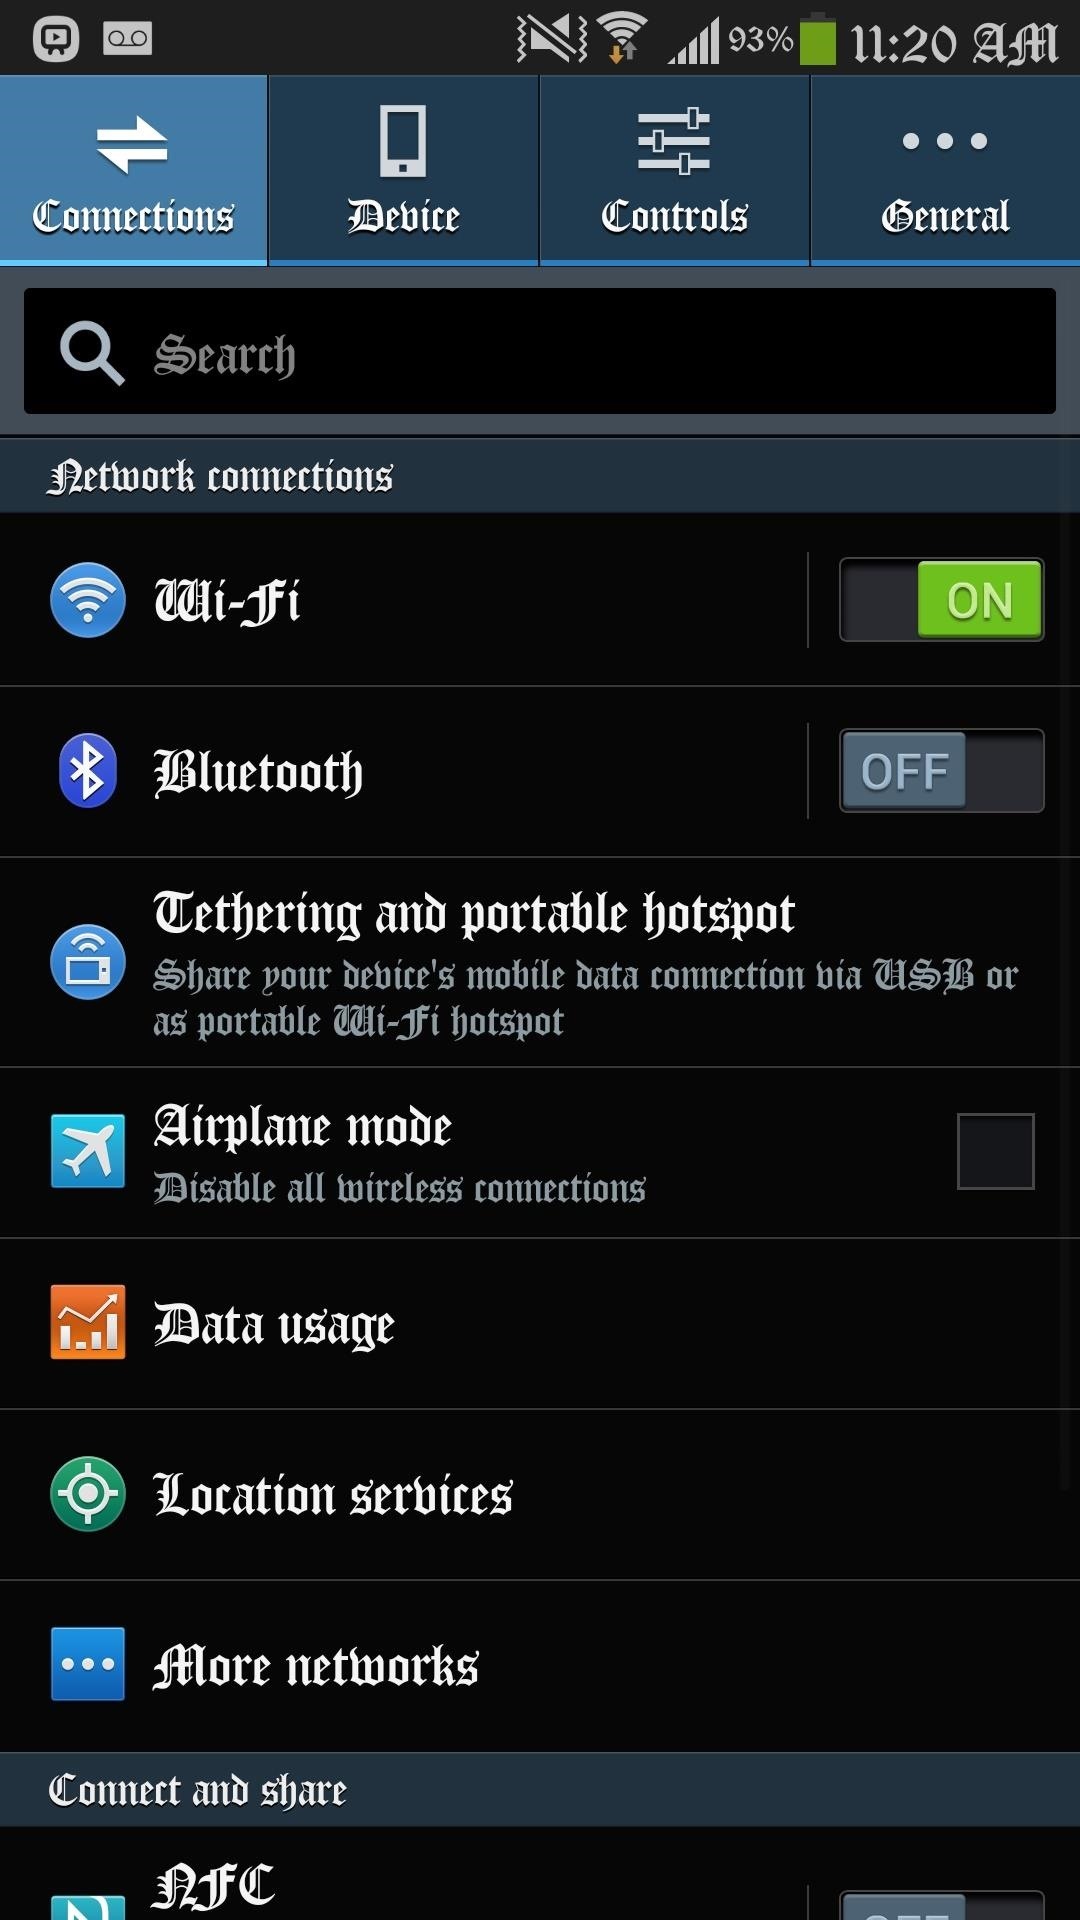
To use the built-in font changer for system-wide changes, head over to Settings -> Device -> Font -> Font style. There are only four free fonts to choose from, but you can tap on Get fonts online to access font packages from Monotype Imaging's FlipFont via the Samsung Apps store. Most of these cost $0.99, but some are as high as $3.99.
Note: If you're trying this on another Galaxy device with Android 4.3 Jelly Bean, like the Galaxy S3, you can find the fonts via Settings -> My device -> Display -> Font style.
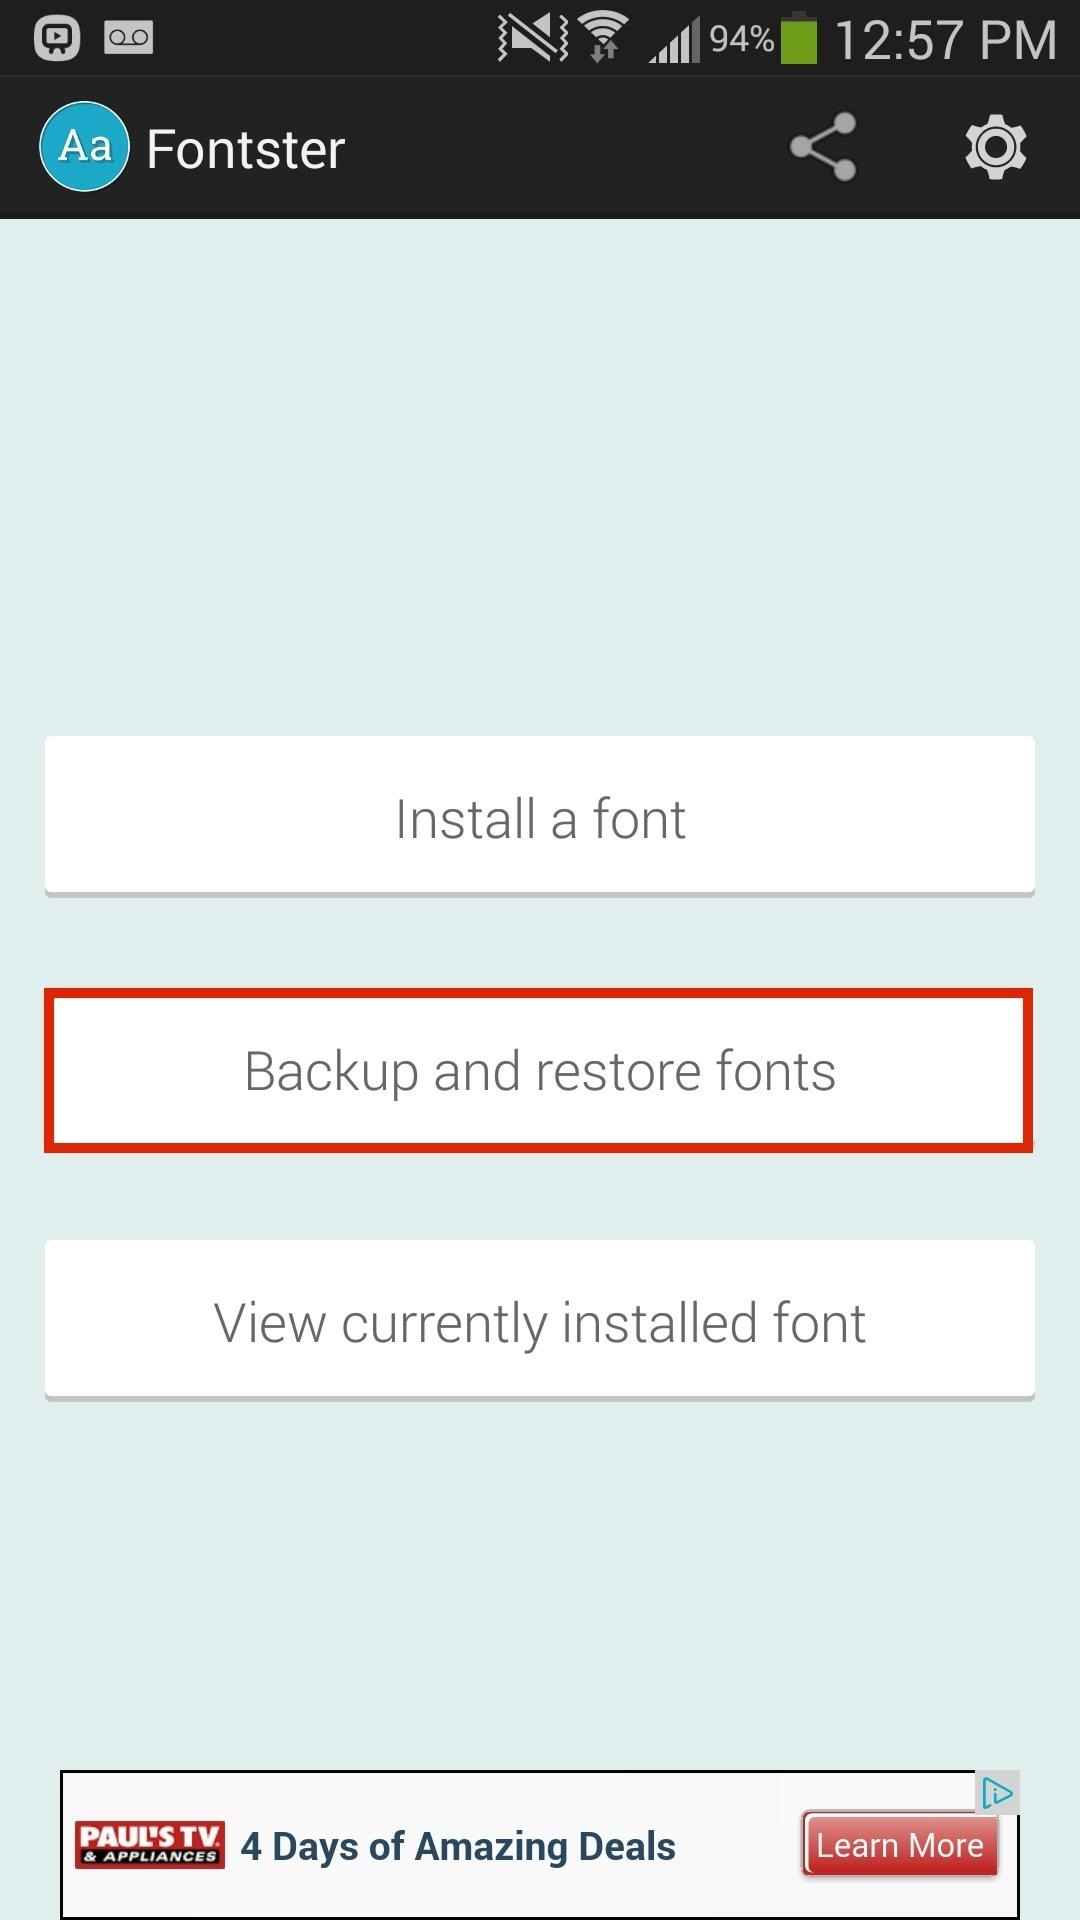
How to Change System Fonts with Fontster (Root Only)
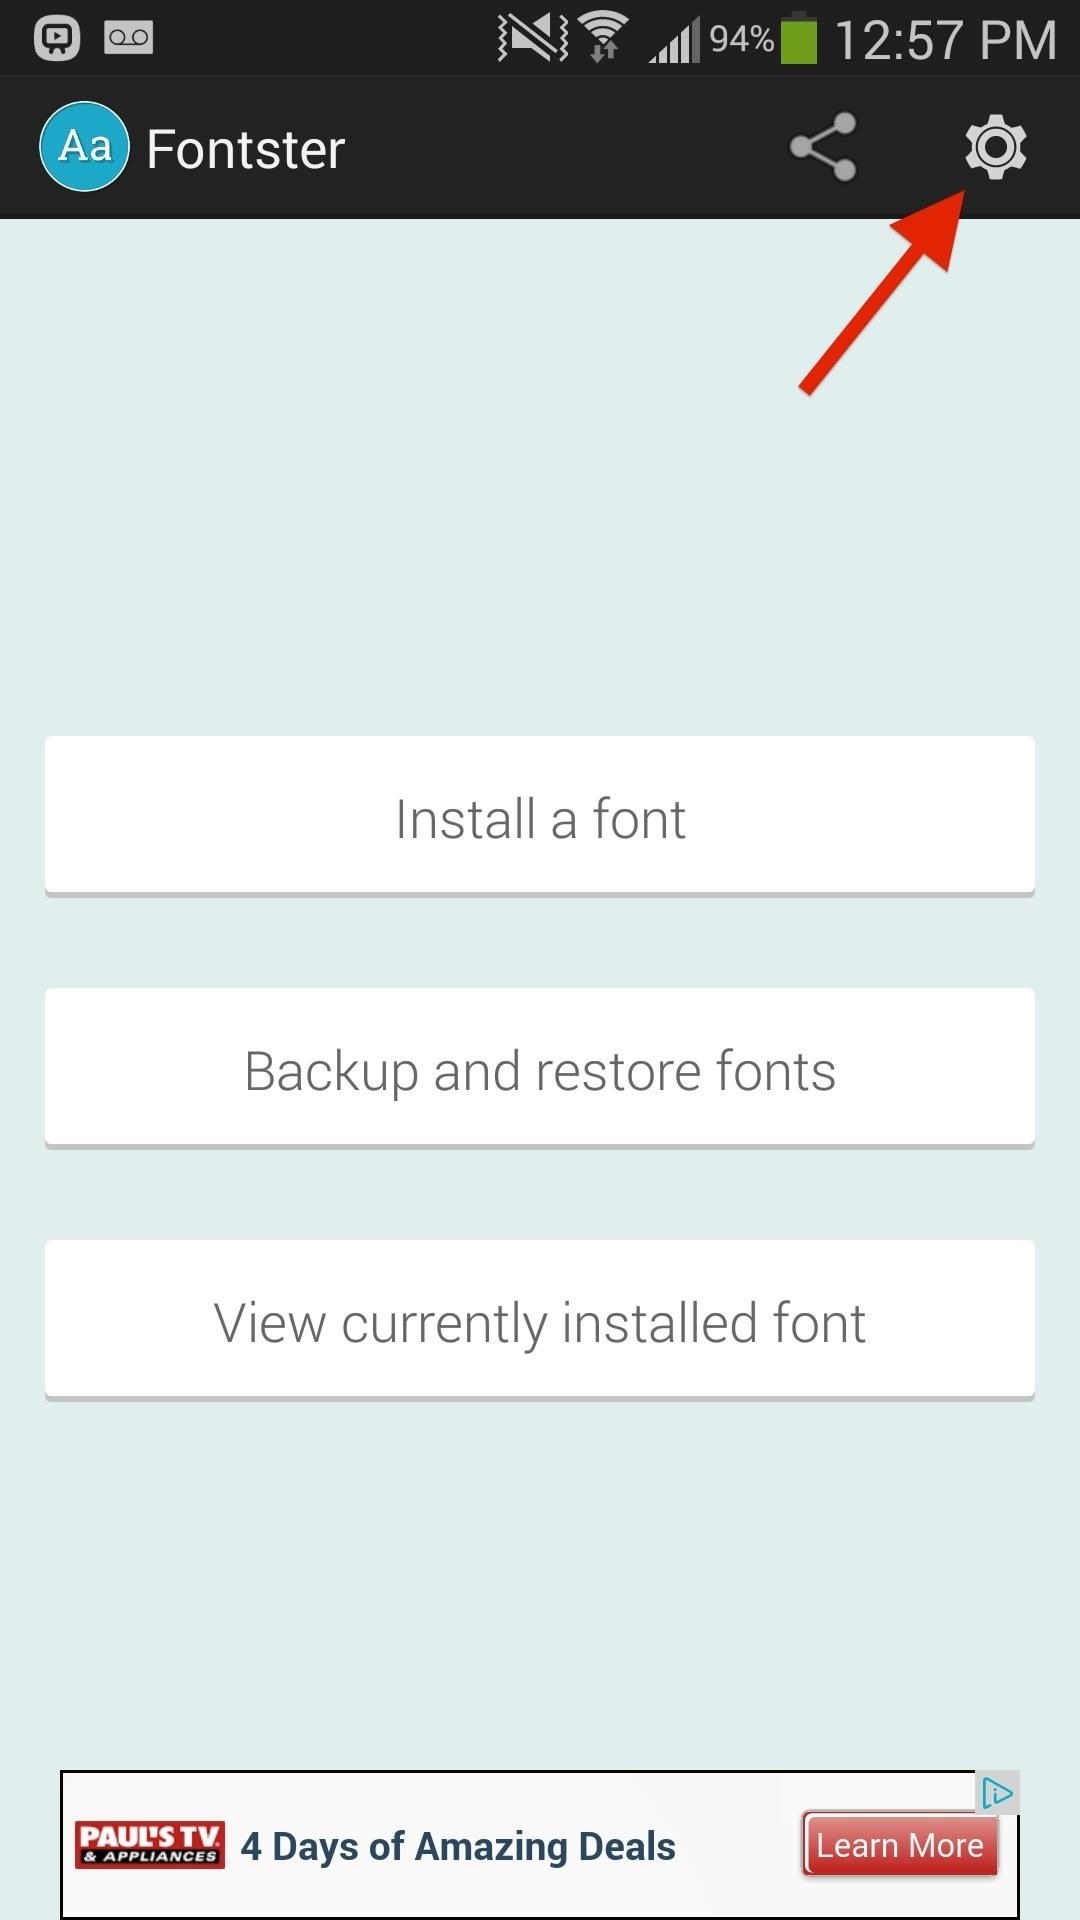
If you're looking for more free options to changing system fonts on your Galaxy Note 3, then Fontster is it. Again, this requires root access, so make sure you root your Galaxy Note 3 if you haven't don't so already, then install Fontster from Priyesh Patel directly from Google Play.
Note that this application will not be perfectly compatible with OEM-skinned Android versions (Samsung TouchWiz, HTC Sense, etc.). If you want the best results, you'll need a ROM that's close to AOSP (CyanogenMod, Paranoid Android, AOKP, etc.). Nexus devices work best, like the Nexus 5 and Nexus 7.
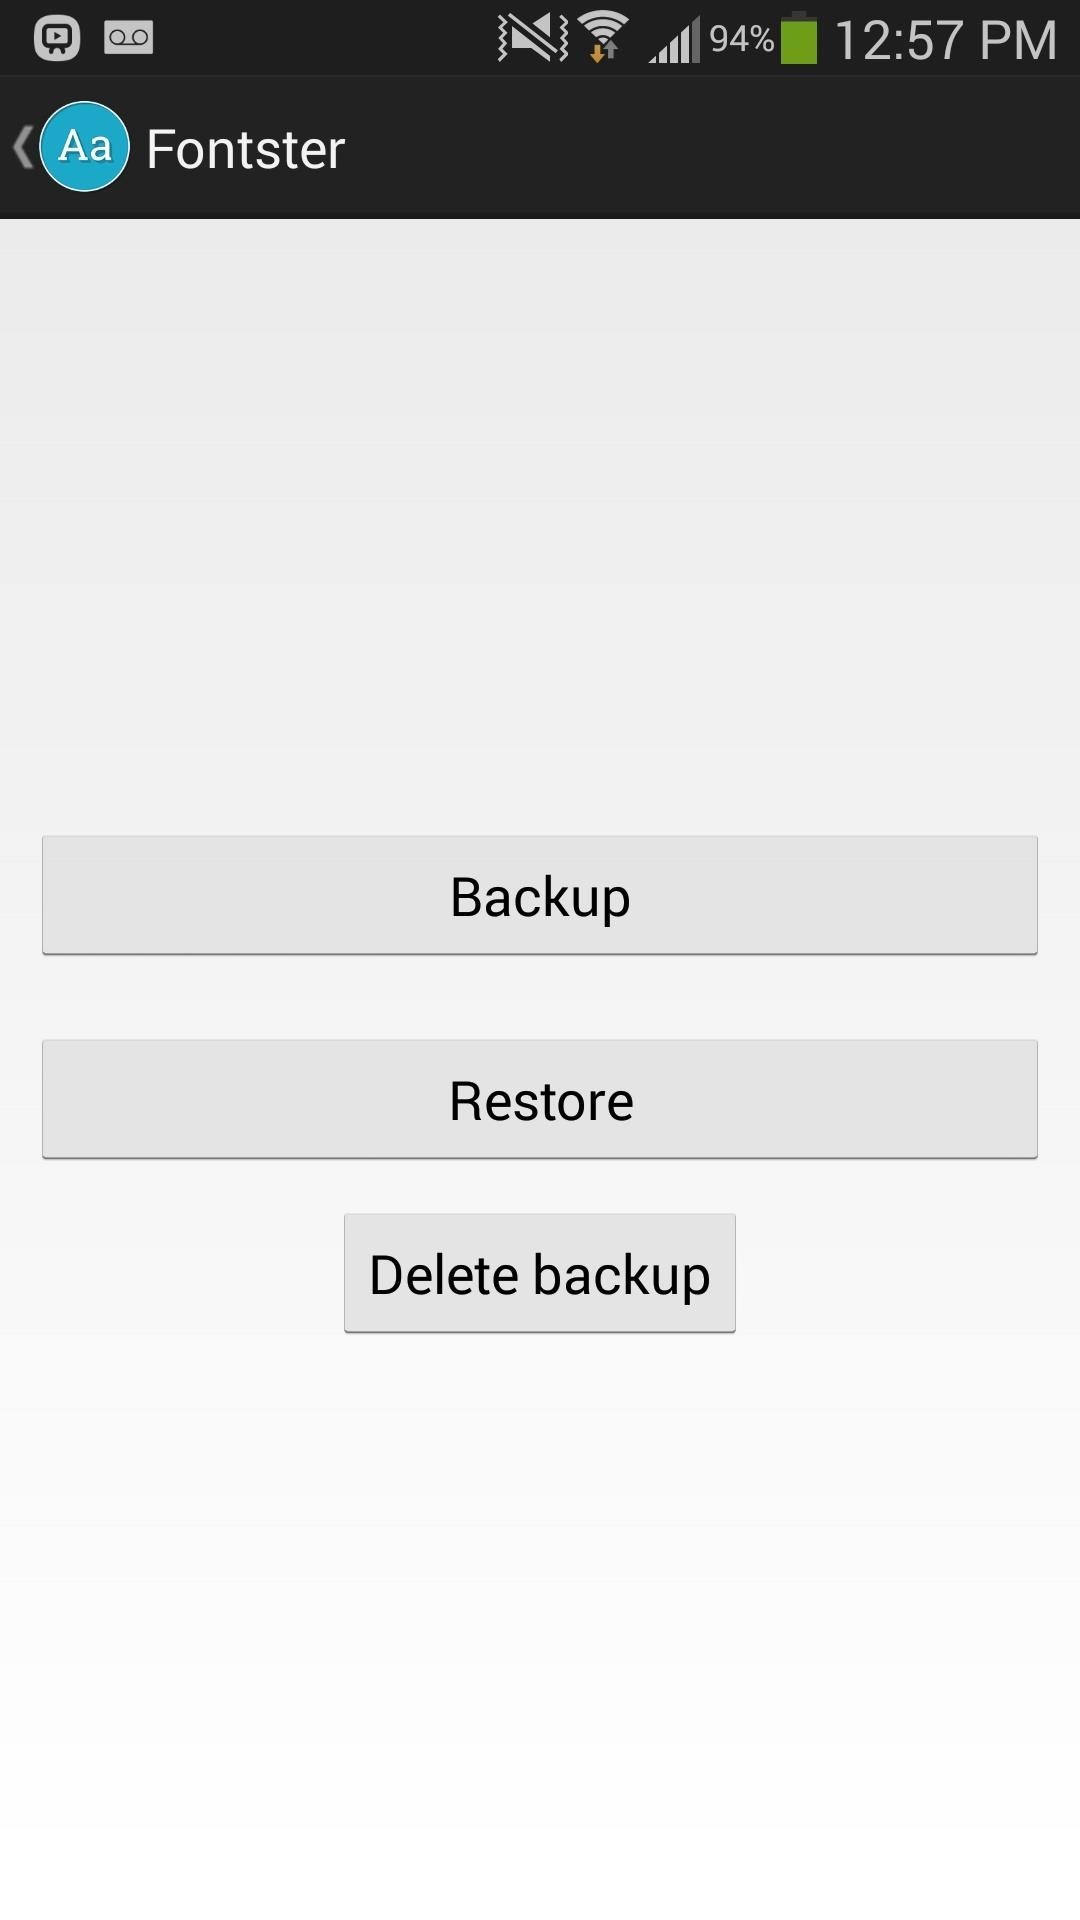
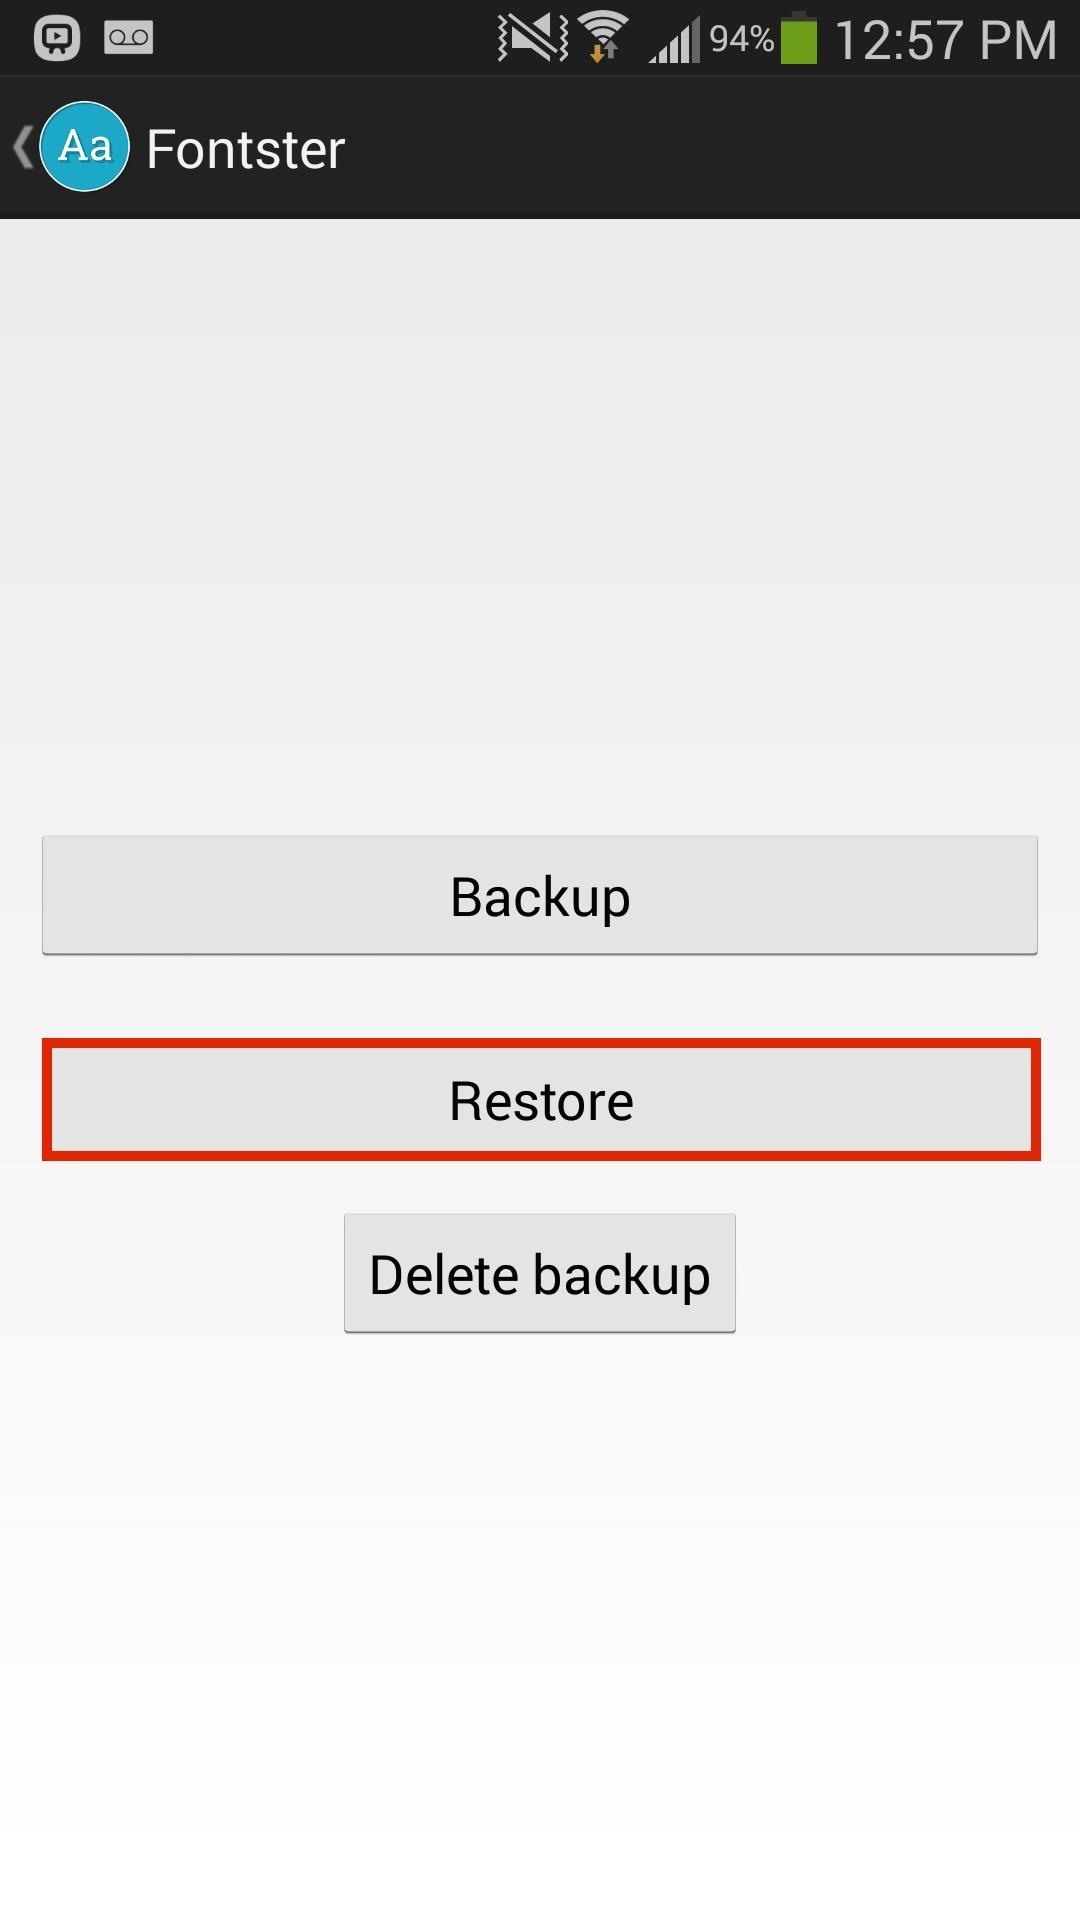
Step 1: Back Up Your Font
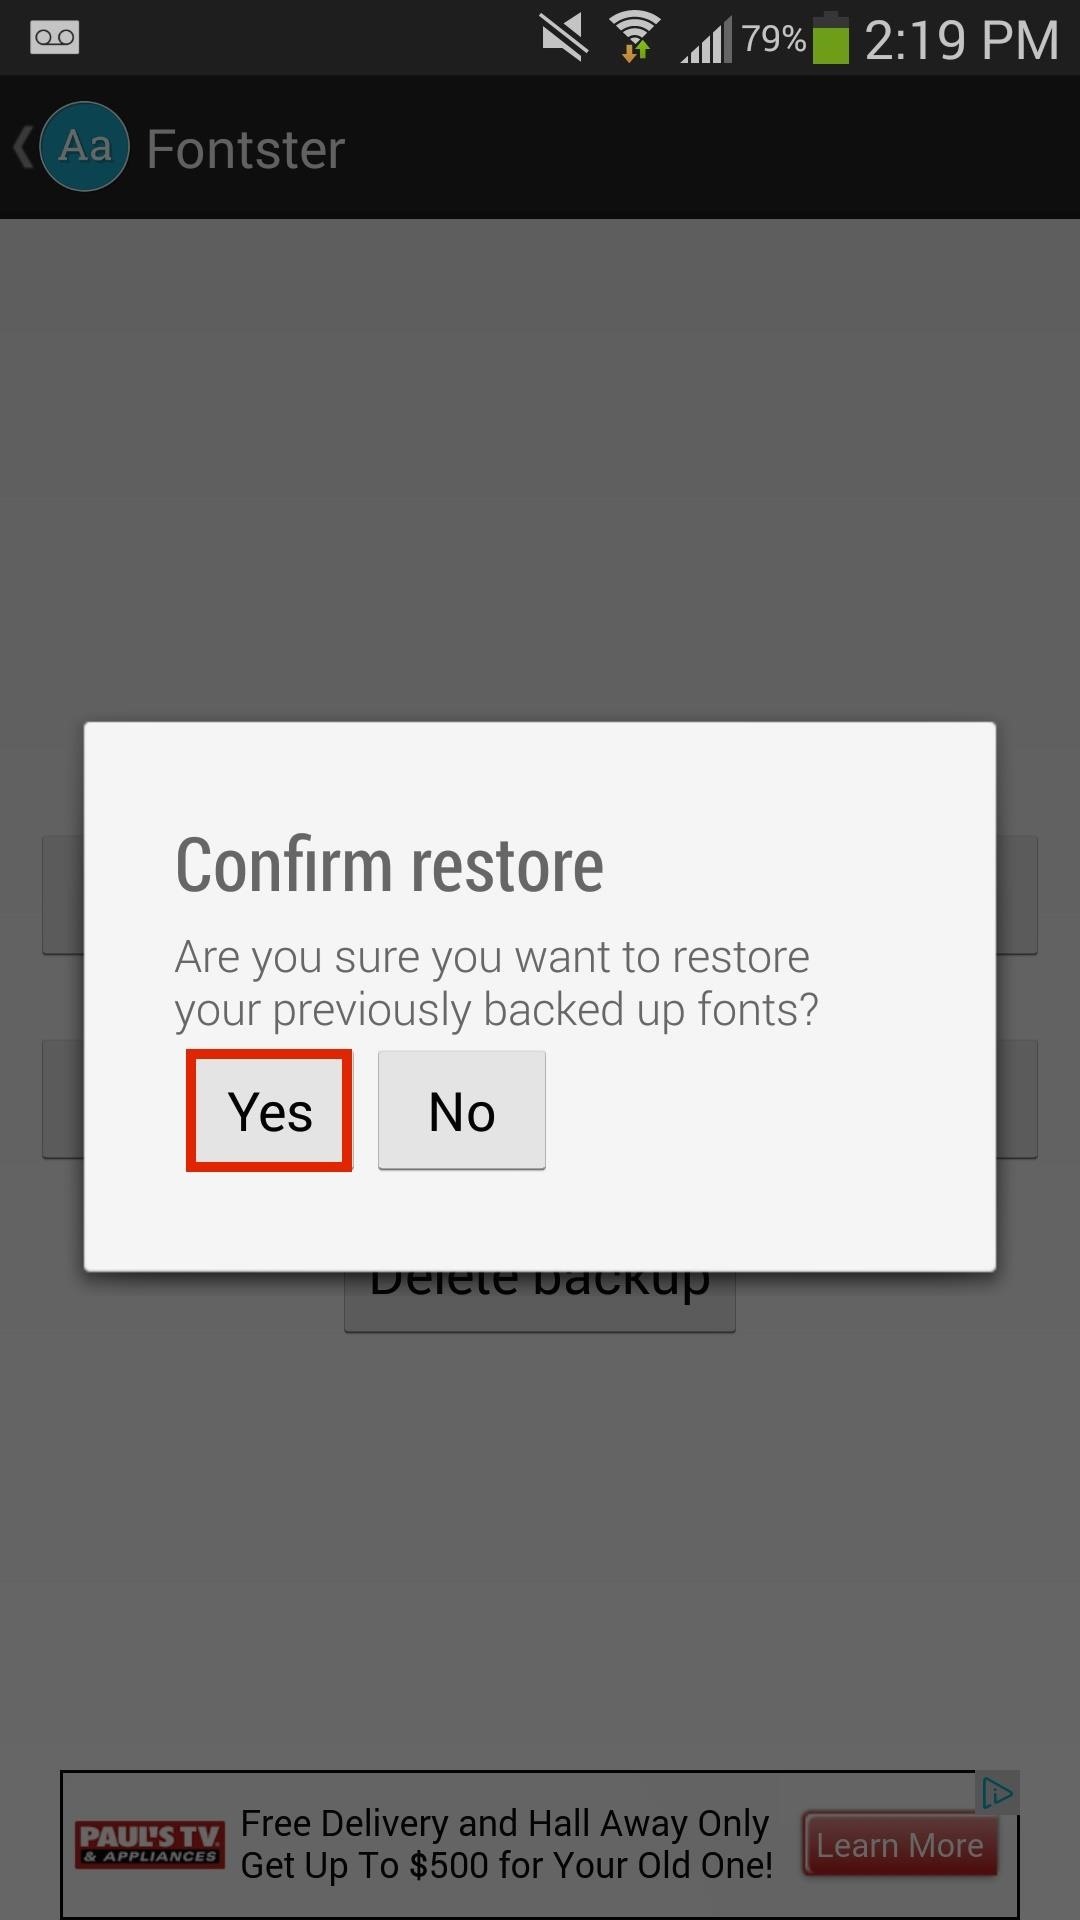
Directly through Fontster, select Backup and restore fonts and make sure to Backup your current stock font. This way you can go back and restore your original font whenever you want.
Step 2: Enable True Font Display
Before you install any fonts, tap on the gear icon located at the top right in order to go to the settings to Enable True Font Display, which show show each font name in its actual font.
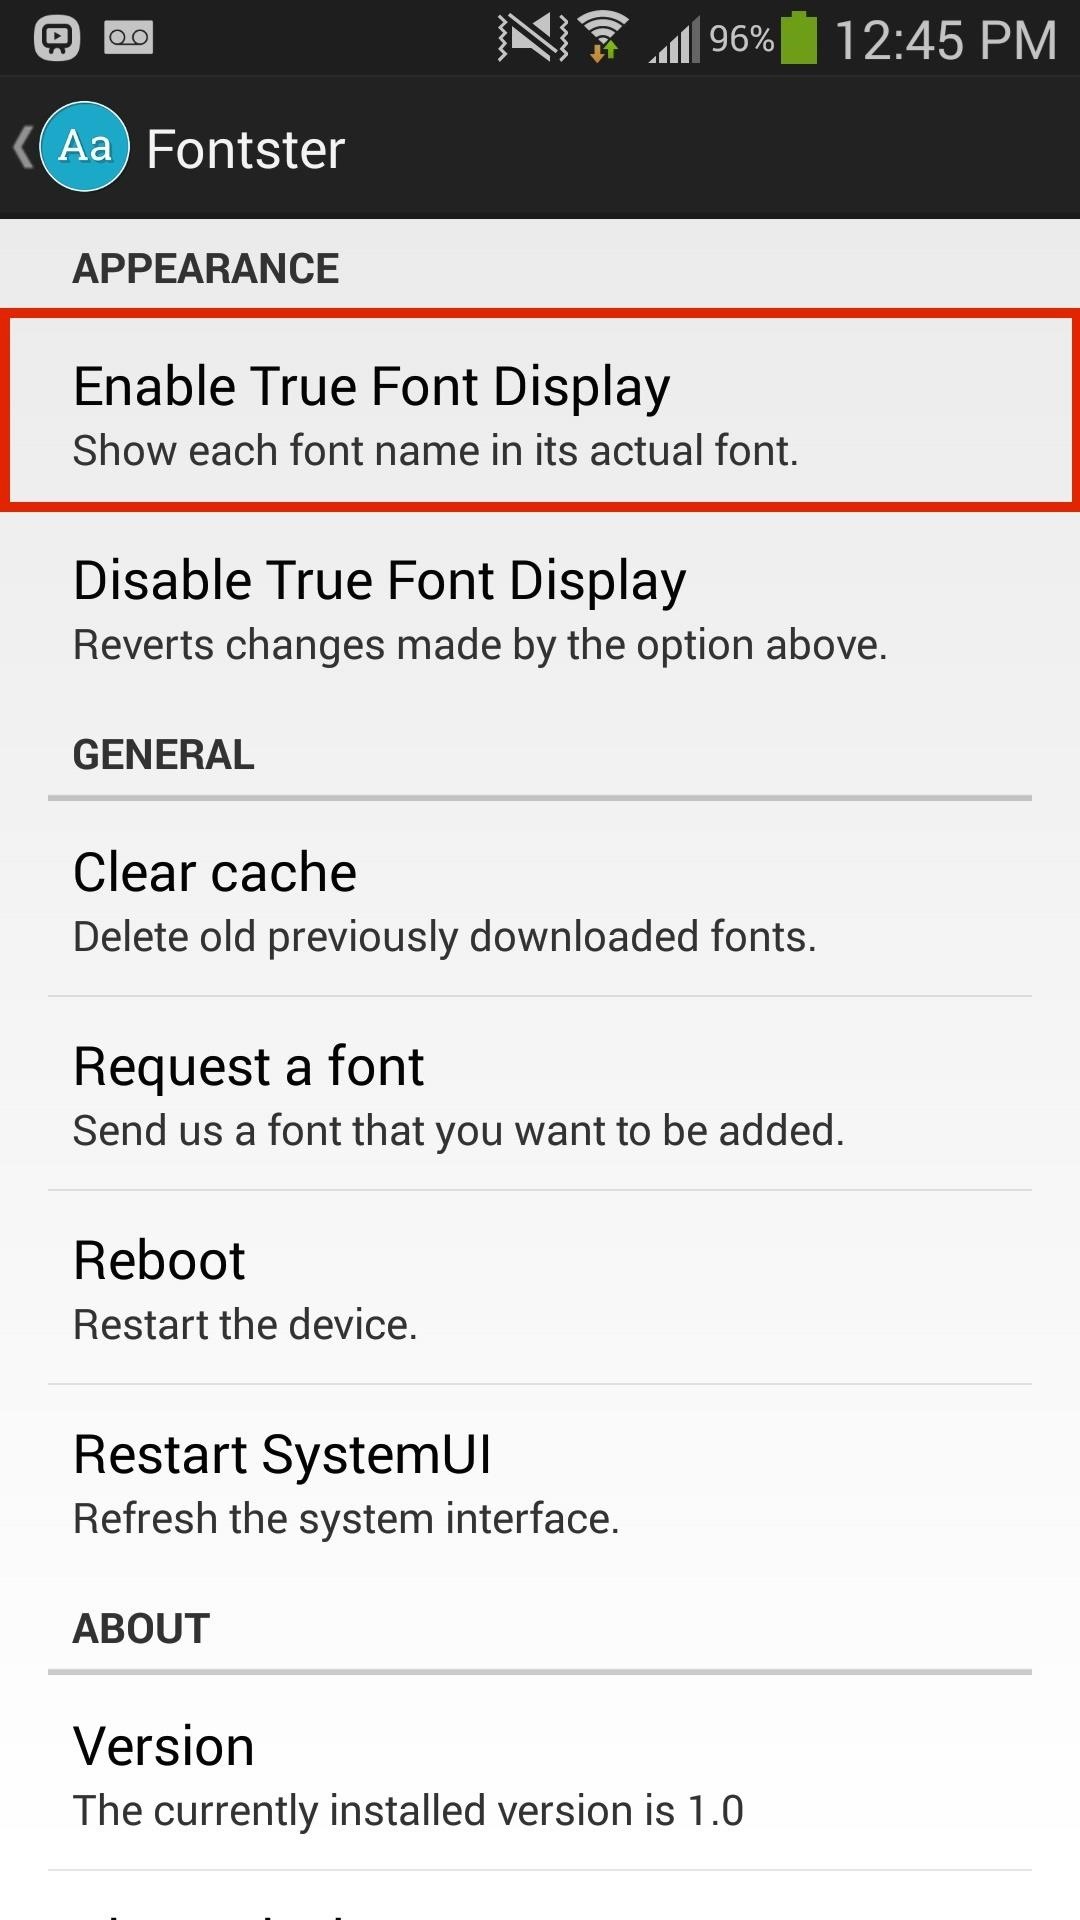
Note: If you don't do this, you'll need to hold down on a font name in order to see the actual font type.
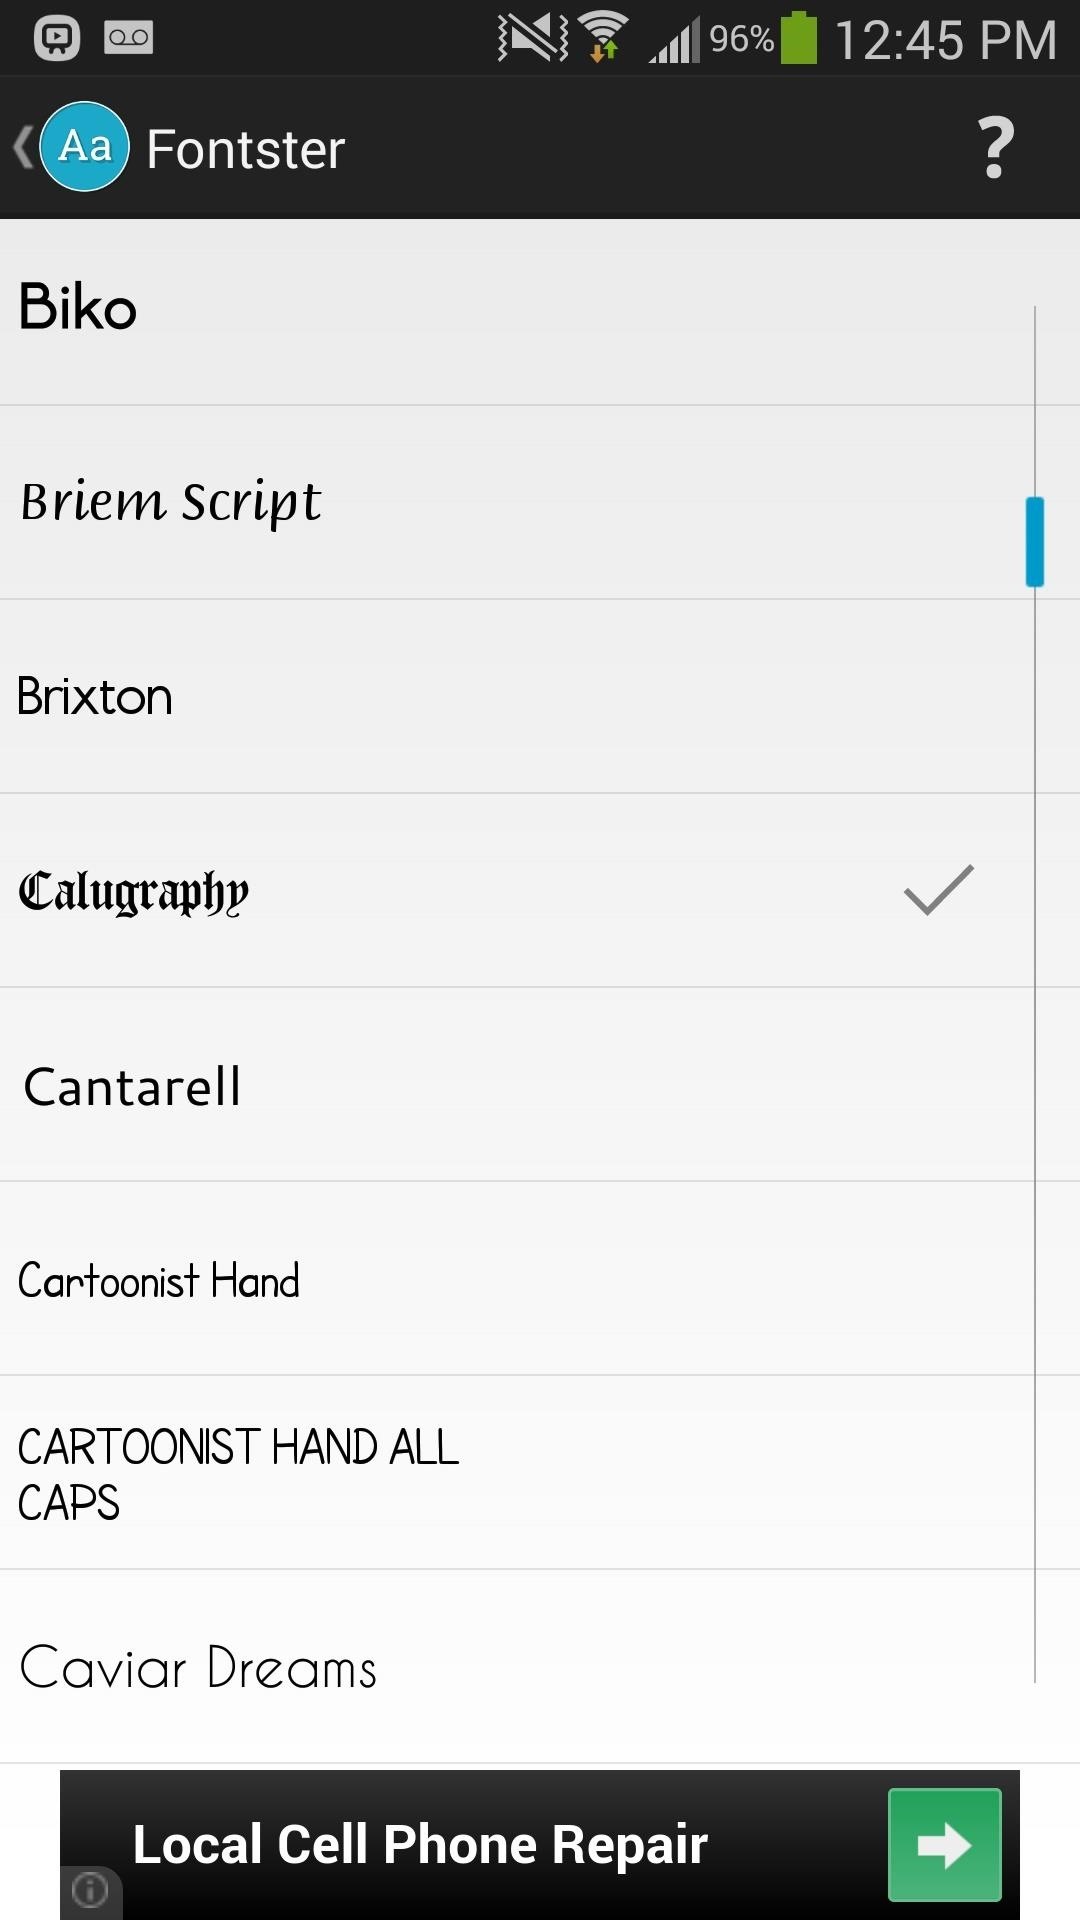
Step 3: Find & Download Fonts
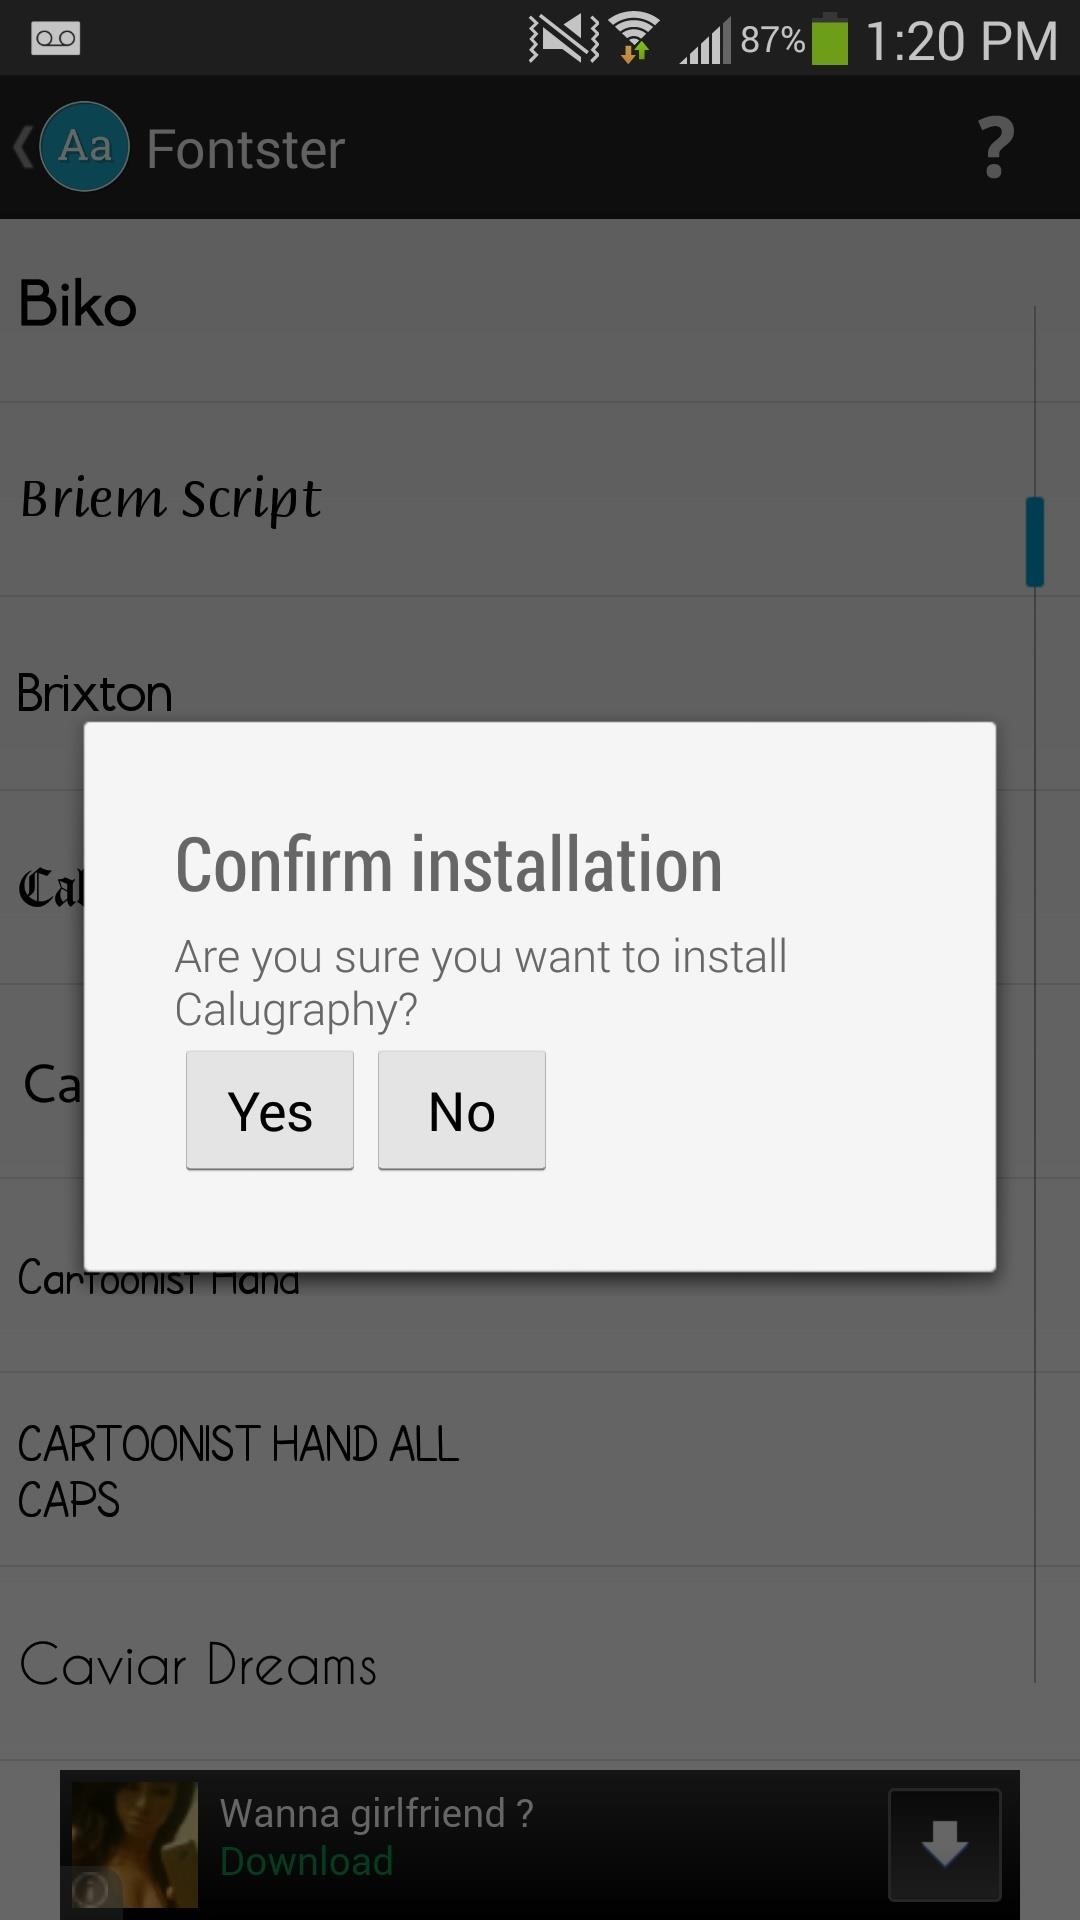
Once all the previous steps are complete, you can go through the more than 150 font families available for free on Fontster. When you find a font you want to download, tap on it and press Yes.
Step 4: Reboot to Save Changes
You must then Reboot your device in order for the changes to take effect.

Step 5: Enjoy Your New System Font
With TouchWiz, the new font worked pretty much everywhere I wanted it to, including the Settings, status bar, app icons, digital clock widget, apps, and more.
When it comes to webpages and system/user apps, it varies as to when the font works, although it does seem to work for the most part.


How to Restore Your Original Font
As described back in Step 1, if you properly backed up your original font, you can always go back there and restore that font.
Reboot your device for the changes to take place, and let us know which fonts you find to look the best on your device.
Just updated your iPhone? You'll find new emoji, enhanced security, podcast transcripts, Apple Cash virtual numbers, and other useful features. There are even new additions hidden within Safari. Find out what's new and changed on your iPhone with the iOS 17.4 update.


Be the First to Comment
Share Your Thoughts