
As great as the Internet is, it is not without its dangers. Hackers at any time may be breaking into your online accounts and compromising your sensitive information. Last year, hackers broke into Facebook, Gmail, and Twitter and made off with 2 million stolen passwords.
It's a nightmare to be the unlucky few who are victims, but there are ways to protect yourself. I've covered ways to protect your online security in the past with firewalls, VPNs, and locking down app permissions. Today, I'll show you how to secure your online accounts like Facebook, Twitter, Gmail, and more with two-factor authentication.
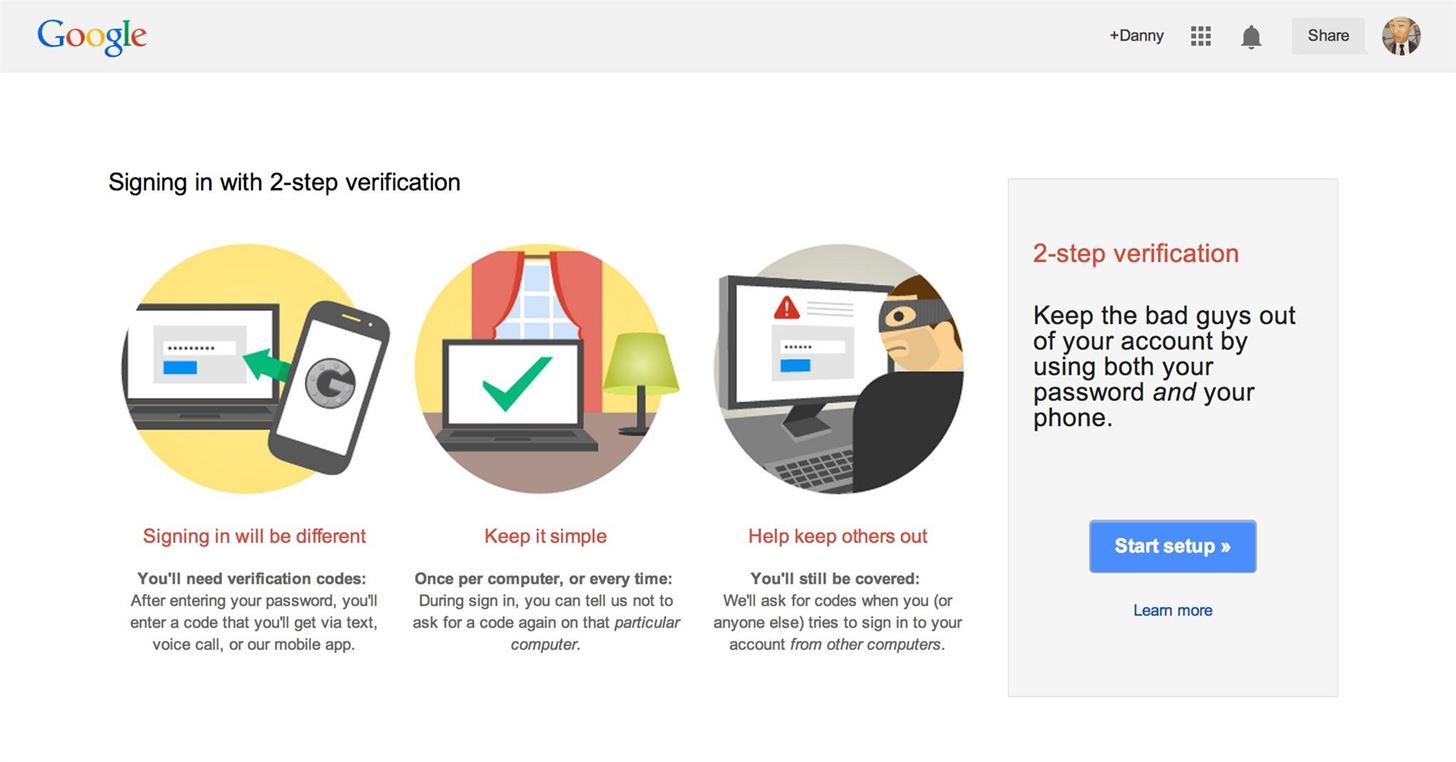
What Is Two-Factor Authentication?
In this case, a security code is sent to your phone either through a text message, or generated from an app that will be used in conjunction with your password, to verify your identity. While hackers can make off with your password, they'll need the self-destructing security code in order to login.
Security codes are only sent to a phone you authorized and physically have with you. This two-step process is what makes two-factor authentication more secure than logging in without it.
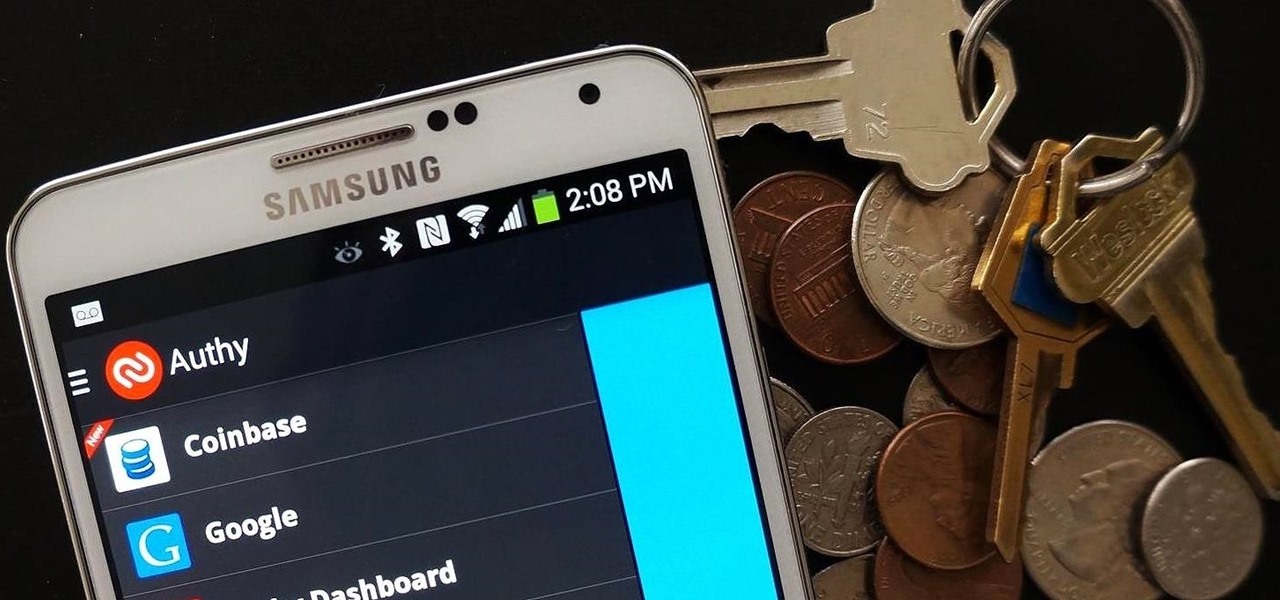
Step 1: Installing Authy
Tap here to download Authy, which is an app that generates the security codes used to login to many online accounts. Google and others have their own ways of sending security codes and specialized apps for generating codes, but Authy is a simplified all-in-one app that works with them all.
Don't launch Authy just yet. We'll have to set up two-factor security for our web services first. I've outlined how to enable it for Google in the next step, but the setup is practically identical for other services.
Step 2: Enabling Two-Factor Authentication for Google
On your desktop web browser, head over to this link and click Start setup to begin setting up two-factor security. Next, log in with your Google account to begin enabling two-factor security.
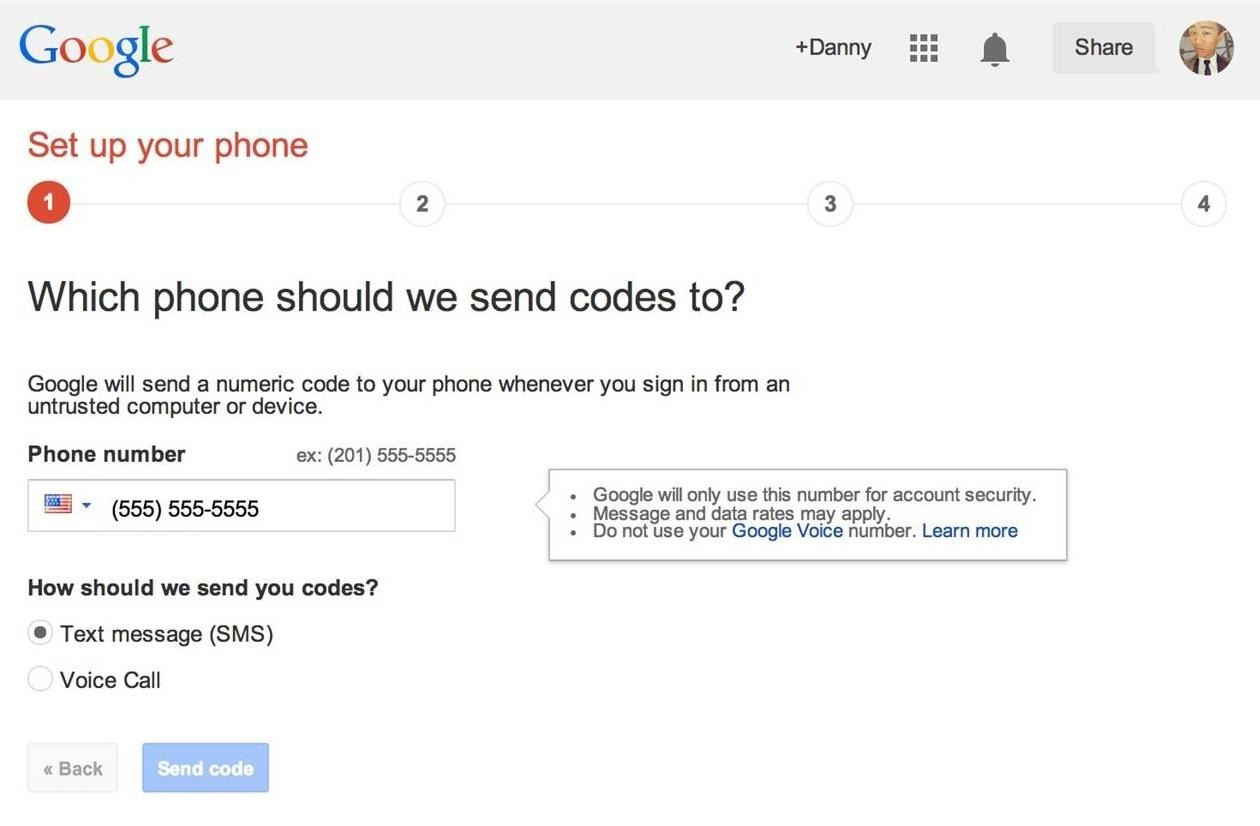
Enter in your cell phone number and chose the option for security codes to be sent via a text message or as a phone call if you prefer.
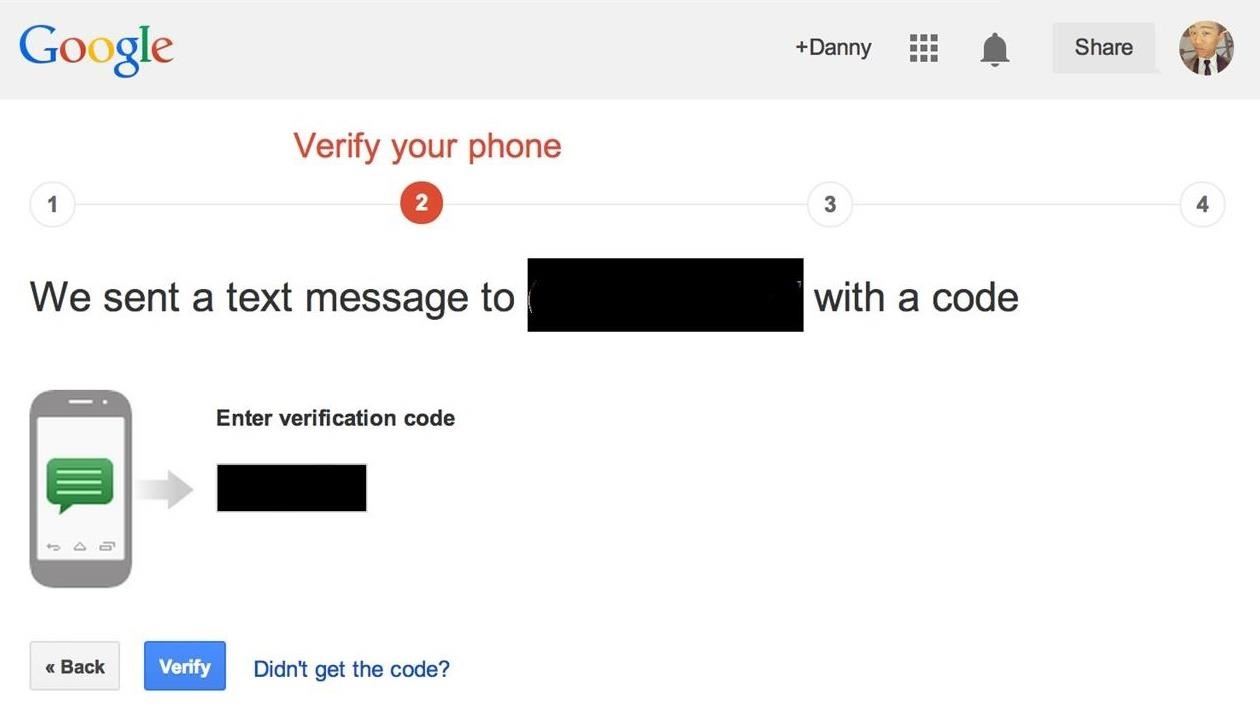
With the security code sent to your phone, enter it into the next window and click Verify.
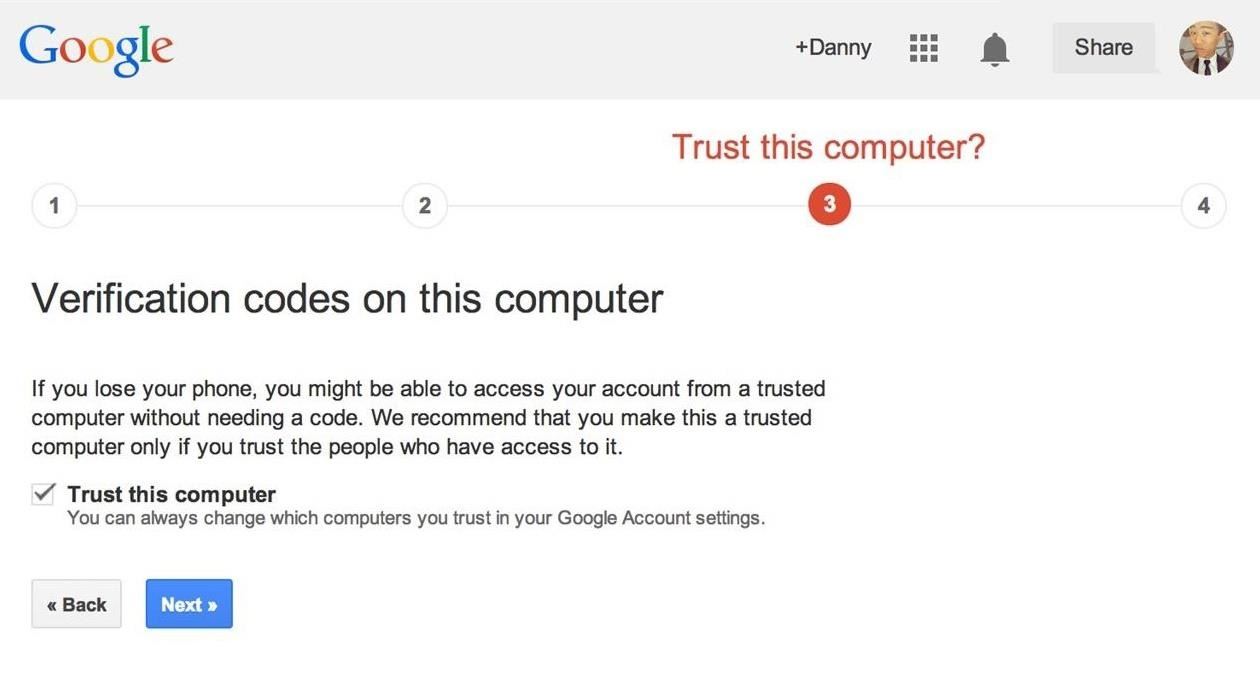
Next, check the box for Trust this computer and click Next.
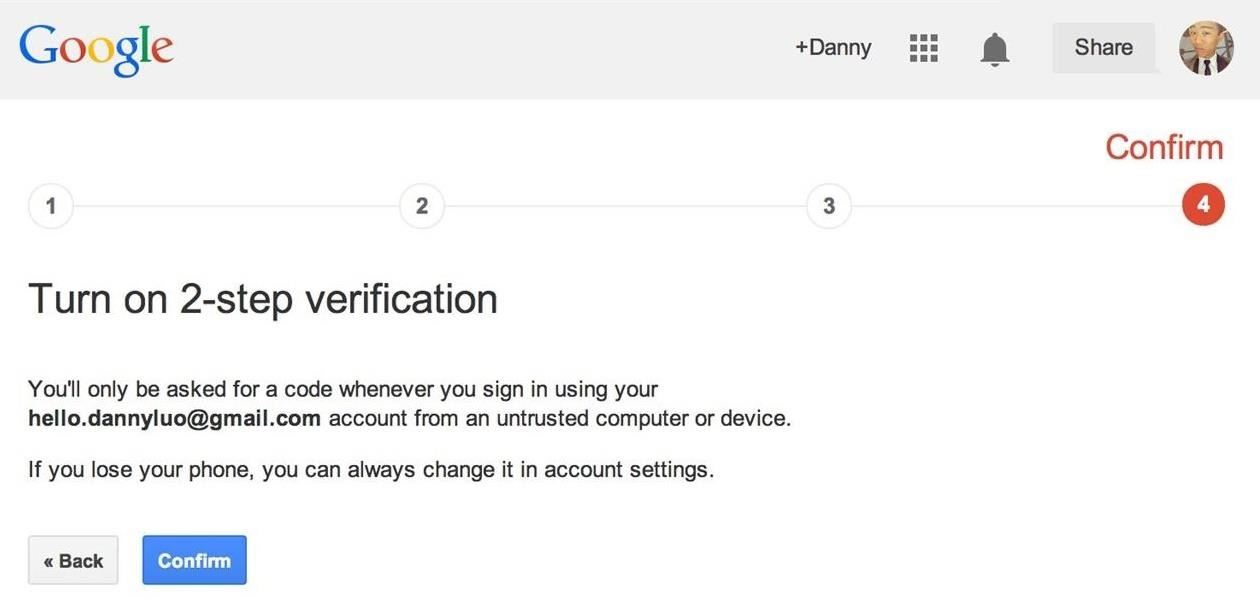
On the next screen, click Confirm to enable two-factor security.
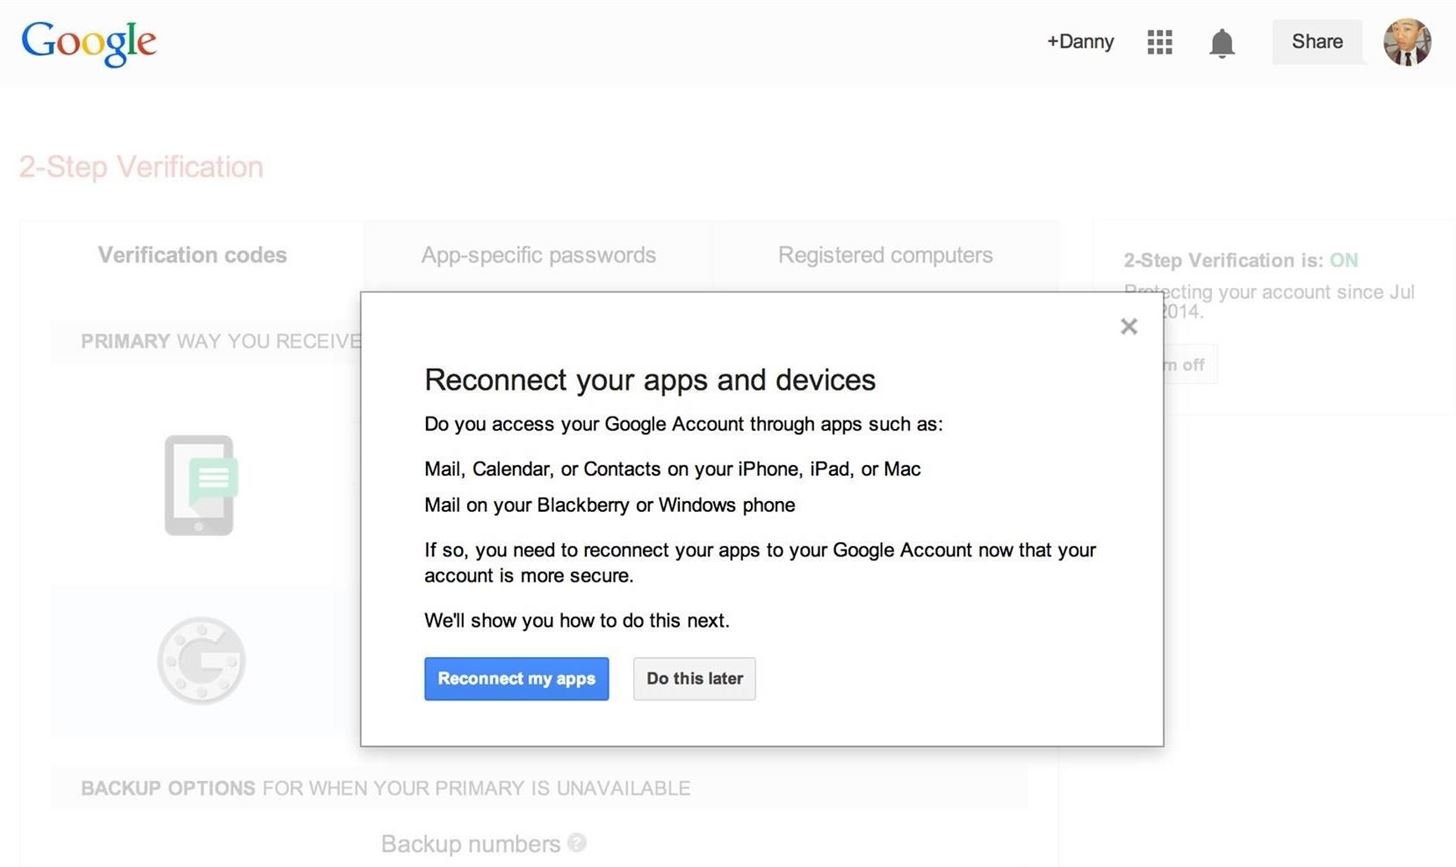
A new window will appear asking if you want to reconnect Gmail and other Google apps. Click Reconnect my apps to continue. Your old Google password won't work now that you've set up two-factor security, so you'll have to generate a new password with Google to login to Google Services on your phone.
You'll be taken to a new screen for making a new password in Google Account Settings -> Security -> App Passwords -> Settings.
In Select app, click the drop-down for Other (custom name) and name it Google on Android (it can be anything, but this is what I chose). Finally, click Generate. From now on, this will be your new Google account login password for your Android device.
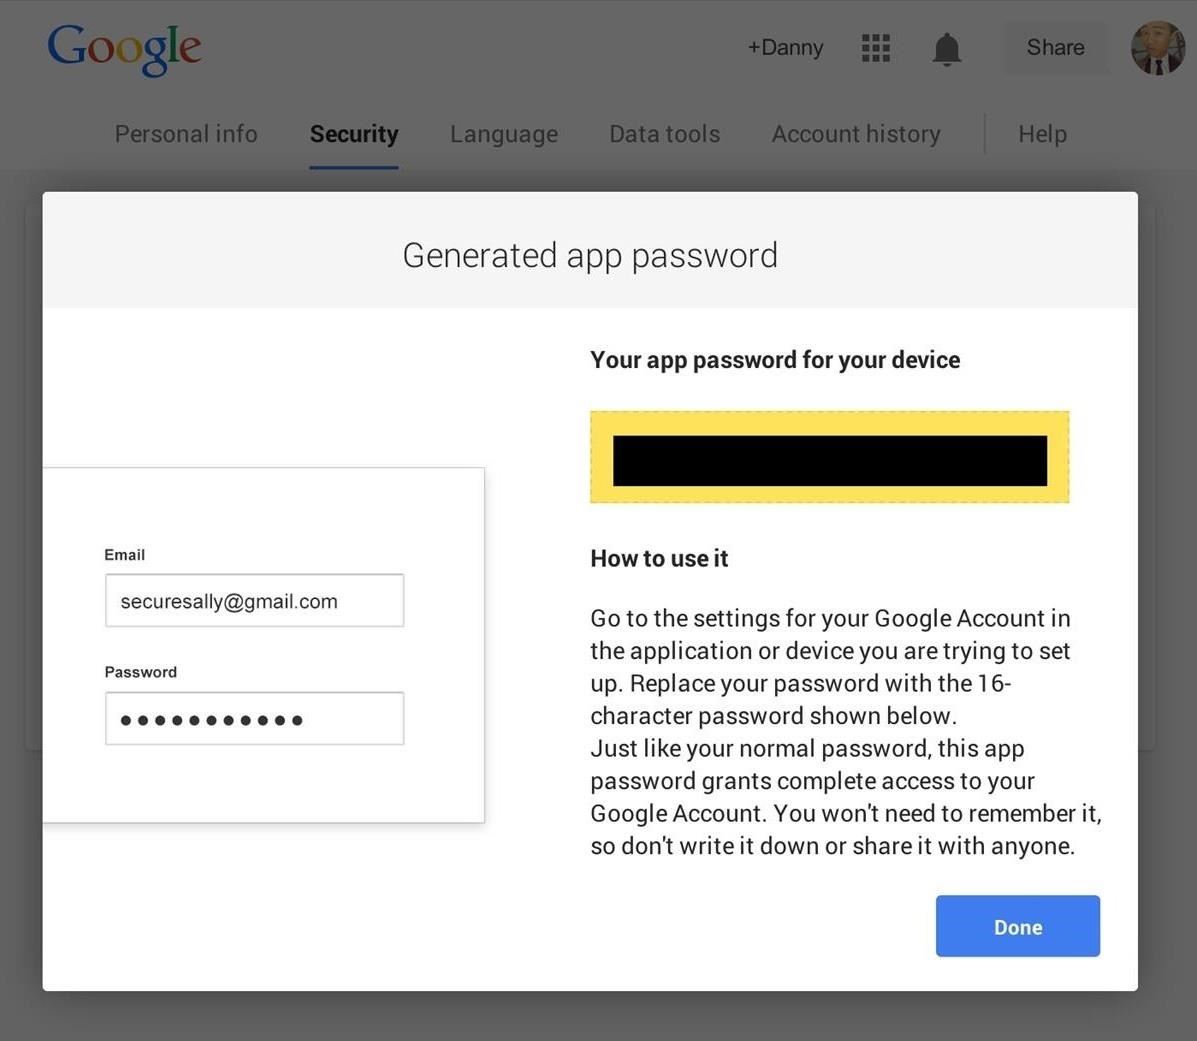
NOTE: REMEMBER THIS PASSWORD! Don't lose it.
Step 3: Switching to Authy for Security Codes
As it stands right now, we have Google set up with a new password and security codes to be texted to our phone (now acting as the secure device). We're now going to change from text message security codes to Authy-generated security codes to make logins quicker and easier.
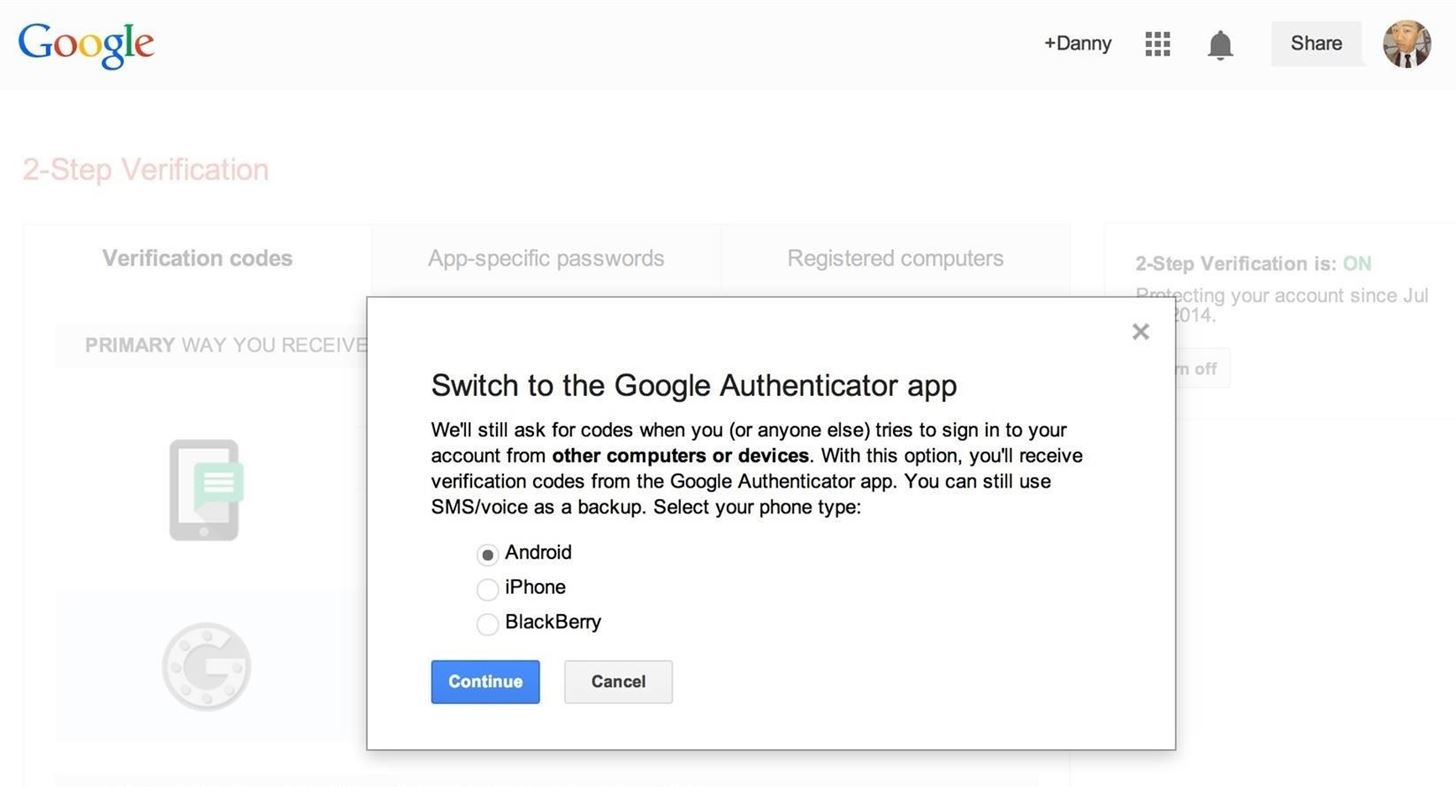
In your Google Account Dashboard, in Security -> 2-Step Verification, click Settings. Under Verification Codes -> Primary way you receive codes, click Switch to app.

In the new popup, click Android and then Continue. Next, a QR code will appear. We'll be now switching over to Authy on our phones for the rest of this guide.
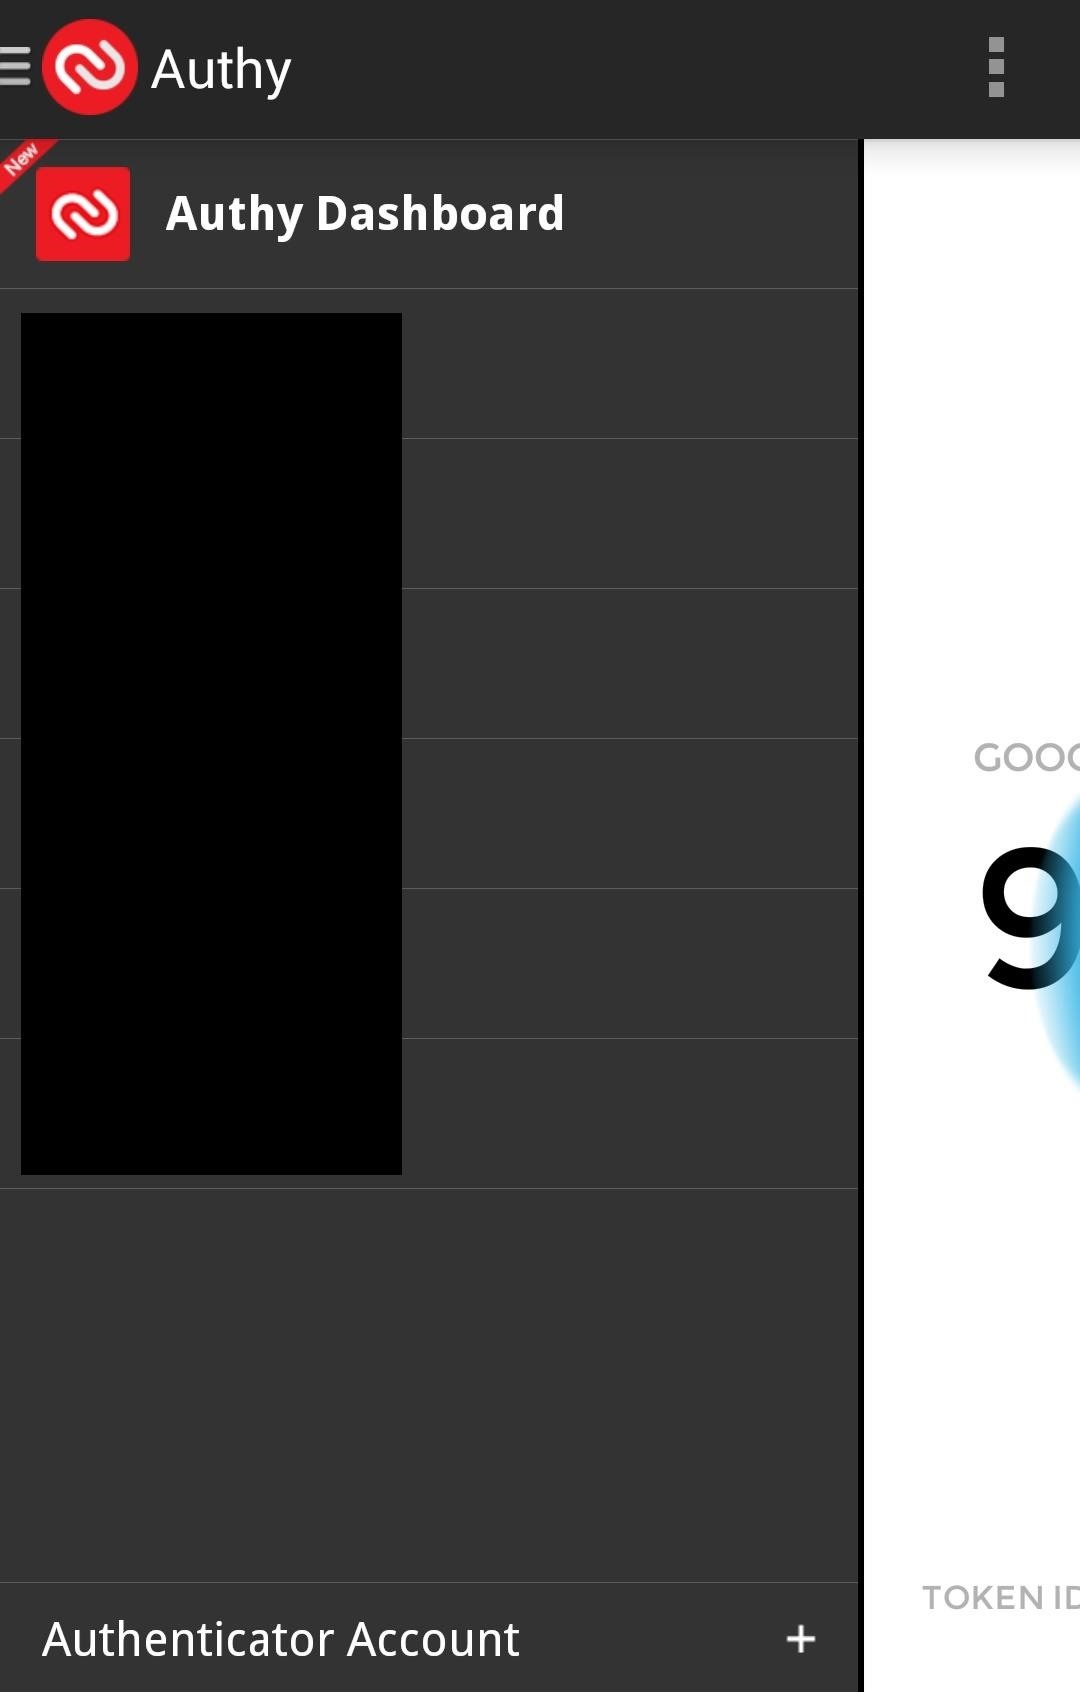
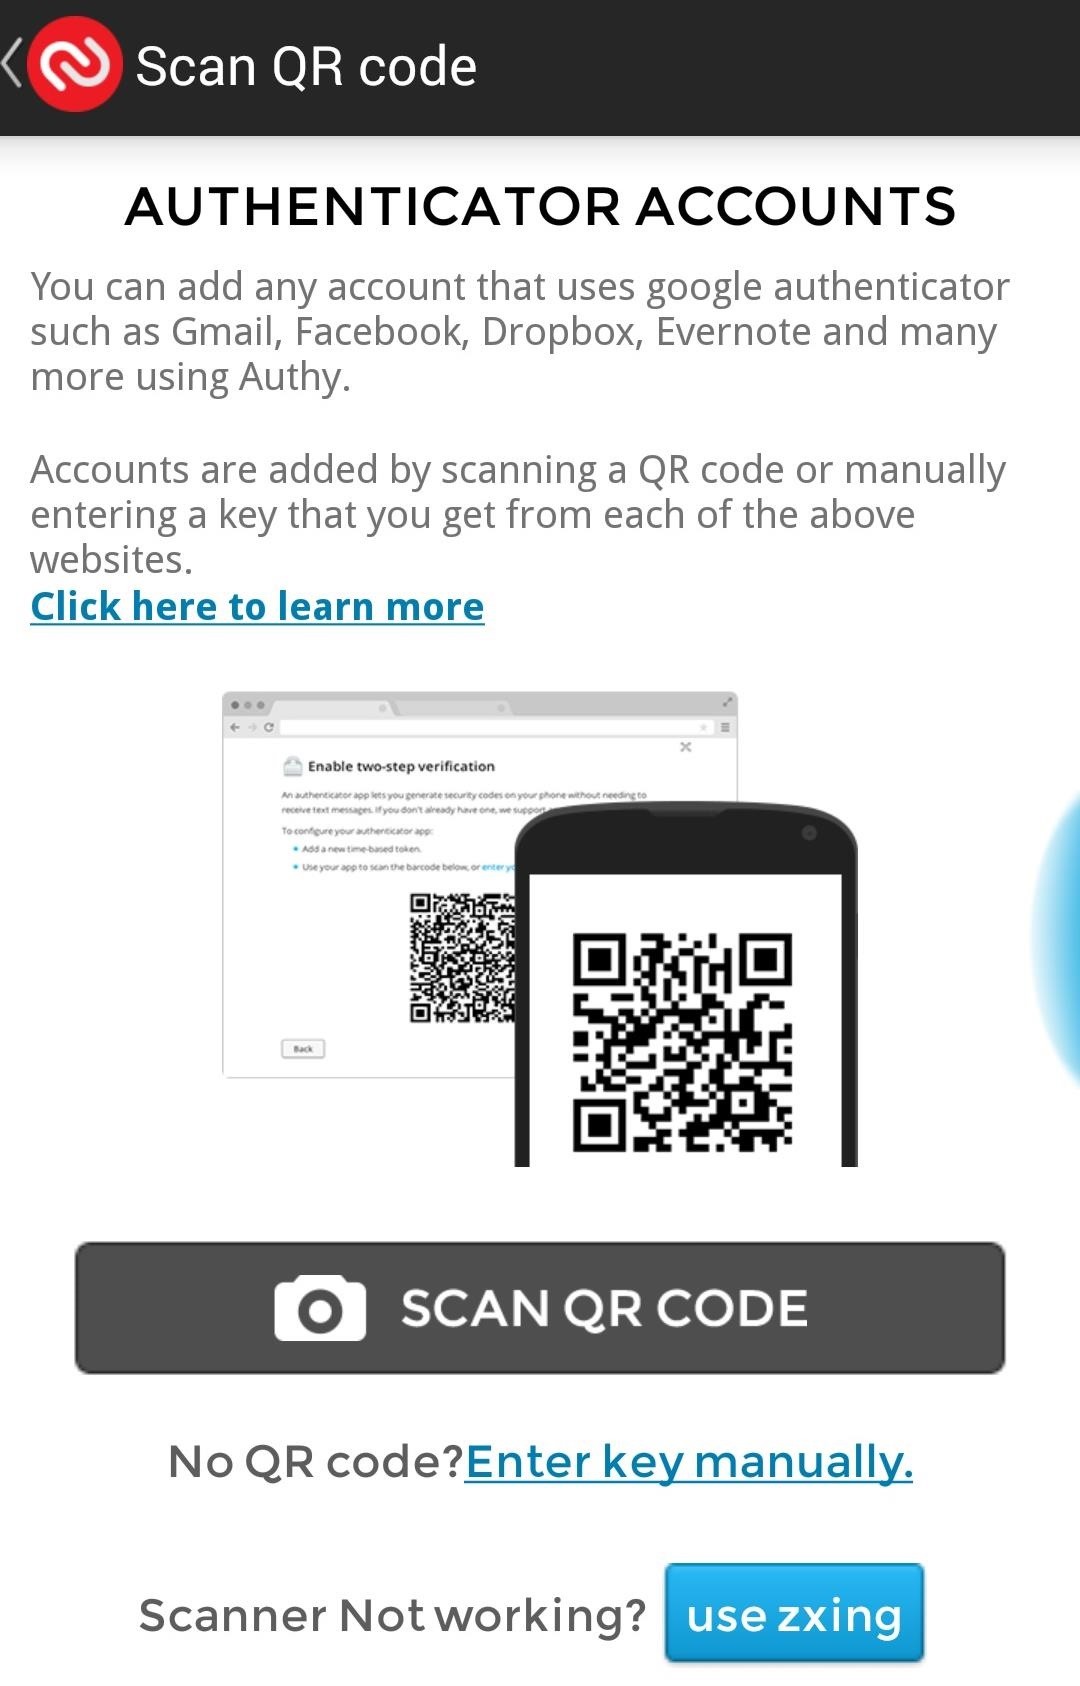
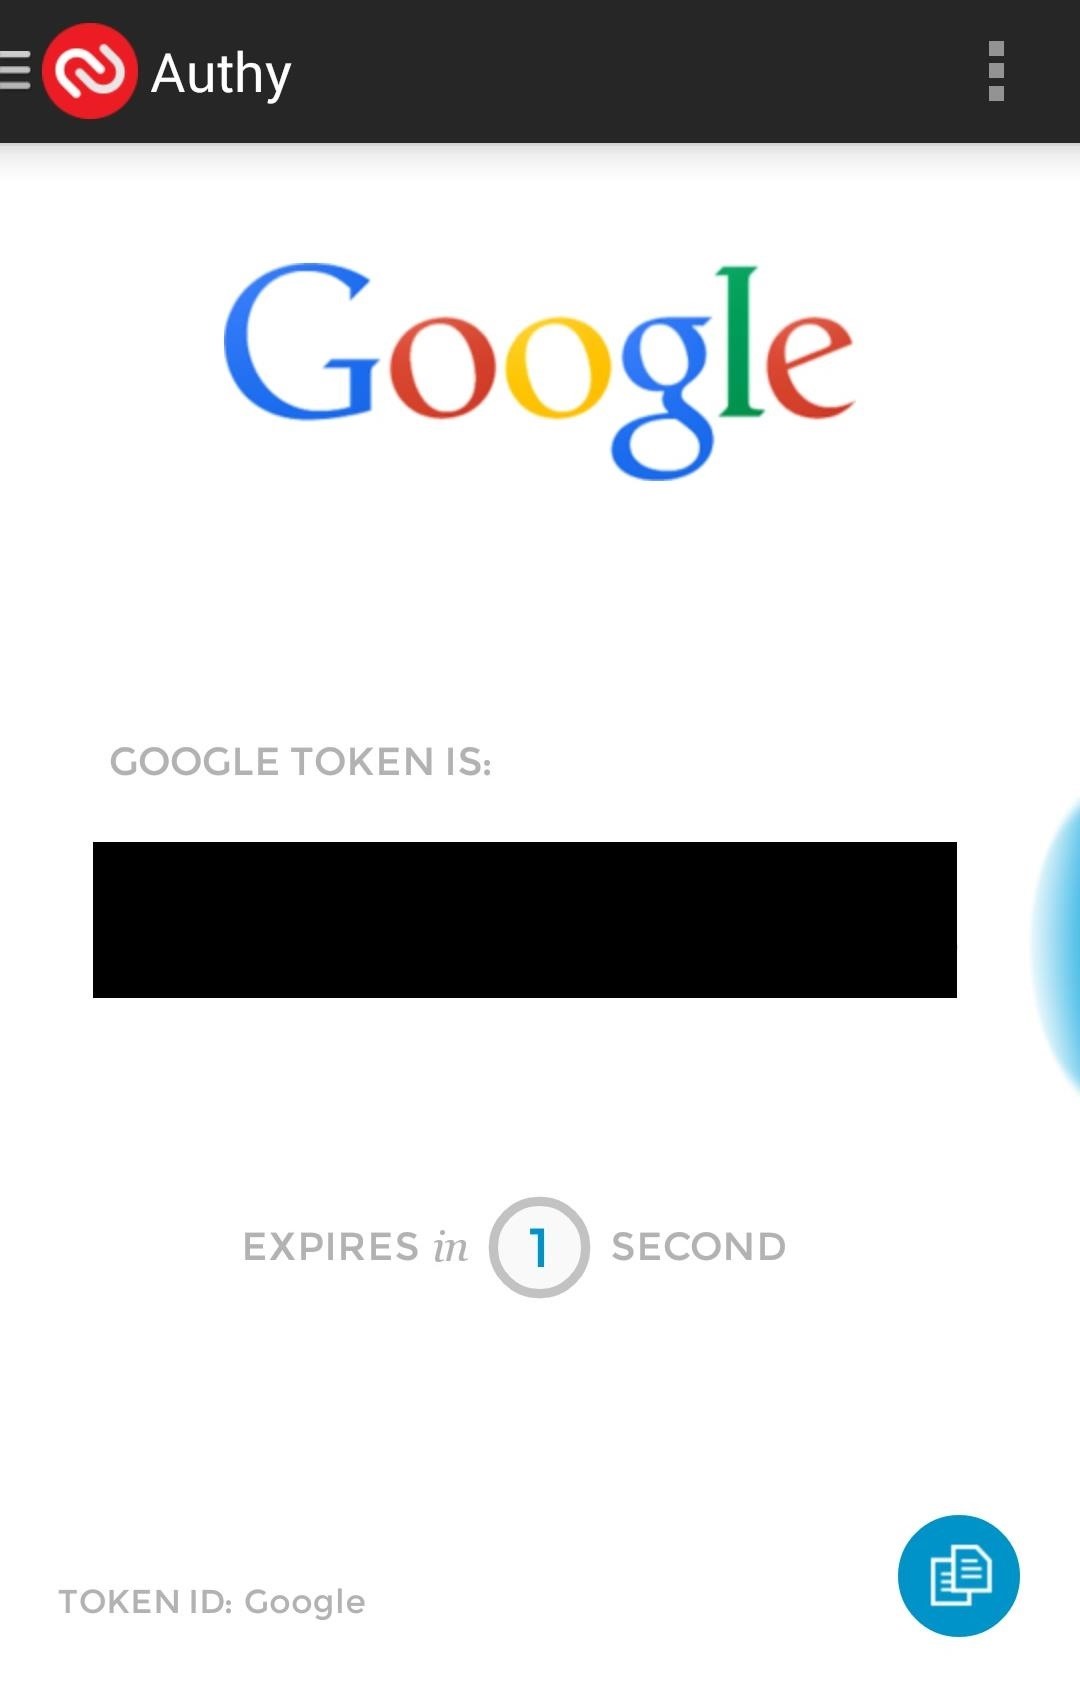
Step 4: Configuring Authy
Launch Authy and tap the option for adding a new Authenticator Account. Scan the QR code Google gave you to setup your account with Authy. Finally, type in to Google the security code Authy generated and then you're all set up with two-factor security.
Step 5: Using Authy with Other Services
Here are useful links for enabling two-factor security for a few popular web services. Don't worry, it's much easier to set up than with Google. As long as they support QR codes, Authy can be used to generate login codes.
- Login to the Dropbox on the web.
- Click here to go directly to Security.
- Under the Two-step verification section, click Enable.
- Click Getting started, then chose the option for using a mobile app for security codes.
- Login to Facebook on the web.
- Next, click here to go directly to your security settings.
- Next to Code Generator, click the option for Enable.
- Scan the QR code presented with Authy and you're done.
- Login to Evernote on the web.
- Click here to go directly to yoir security settings.
- Enable two-factor security and chose the option for Google Authenticator for security codes.
- Lastly, scan the QR code presented with Authy and you're done.
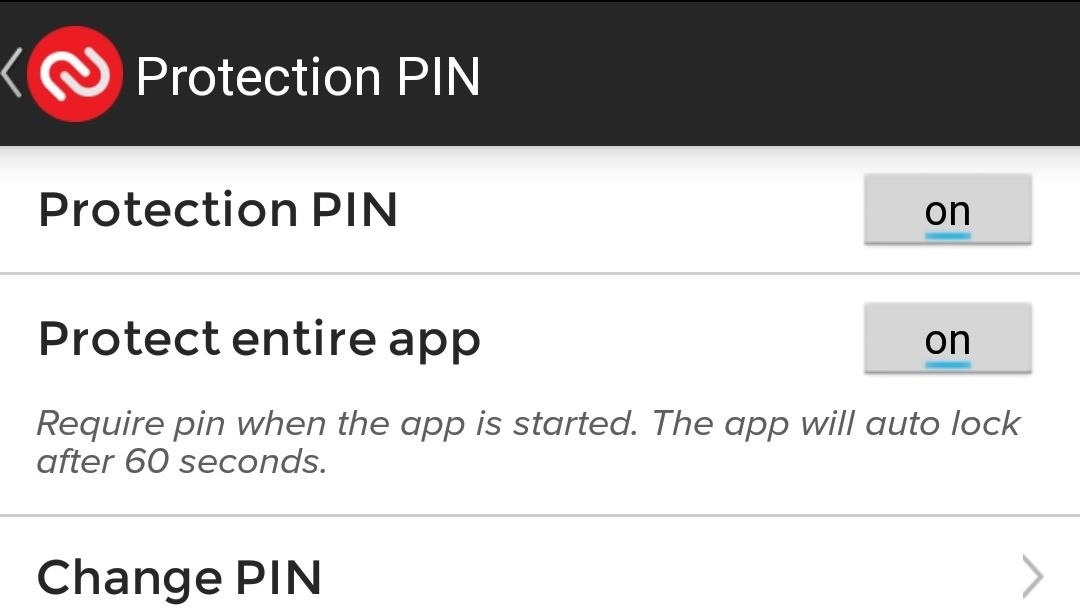
Step 6: Adding PIN Protection
Additonally, secure Authy with a PIN code to prevent unauthorized people from getting into the app and generating security codes. You can set a PIN code in Settings -> Protection PIN -> On.
That's all there is too it. The setup can be a bit much, but two-factor security is a piece of cake once it's all ready. You just have to enable it whatever web service you're using online and have Authy scan the QR code.
Authy also has an iOS app, so if you have an iPad or other iOS device, you can also use it on that. Tell us in the comments section below how Authy worked for you.
Just updated your iPhone? You'll find new emoji, enhanced security, podcast transcripts, Apple Cash virtual numbers, and other useful features. There are even new additions hidden within Safari. Find out what's new and changed on your iPhone with the iOS 17.4 update.


Be the First to Comment
Share Your Thoughts