
Arcades have long faded away from popularity, but their legacy is being kept alive thanks to emulators and the avid fans who grew up loading quarters into all of those coin-op games. Although nothing beats an actual arcade environment, my favorite emulator from the early 2000s has found a new home on Android, and with it a second life.
It's called Final Burn Alpha (FBA), and long-time emulation fanatics may know this name from many years ago when it was first unleashed in 2000 for Windows computers. If you're already familiar with FBA and want it right now, skip down to the "Prerequisites" section below to jump right into installing it. Otherwise, stay tuned for a brief history lesson.
The Tale of Final Burn Alpha
Released by a developer going by the name Dave, it initially supported old school Sega System 16 arcade games and a handful of miscellaneous titles. FBA became a scene favorite when Capcom's CPS-2 system was finally decrypted by hacker Razoola, allowing games to be playable.
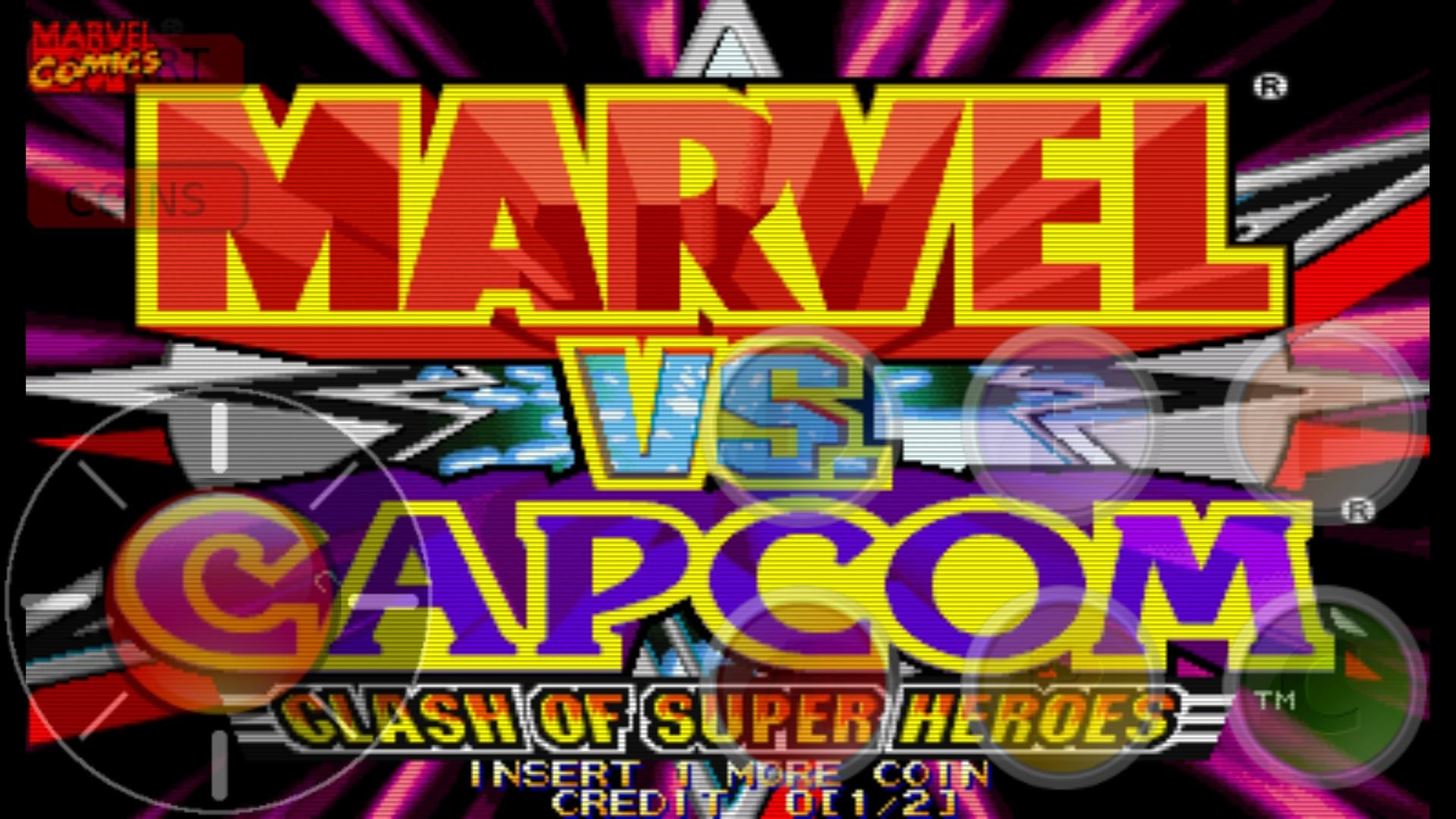
For anyone growing up in the '90s, Capcom's CPS-1 and CPS-2 system was home to favorites like the Street Fighter series and the still-popular Marvel vs. Capcom. SNK's Neo Geo system also had support in FBA, making it a favorite to play old school titles like the King of Fighters series and Metal Slug.
However, in all the buzz and uproar over the popular emulator, Dave suddenly withdrew from the scene, made FBA open-source, and stopped its development.
FBA would later be brought back by another developer as an unofficial version, but updates were slow and, by that time, FBA had lost popularity to newer emulators. The current FBA team was formed some time after by Barry Harris, and they continued supporting FBA by fixing bugs and updating game compatibility.
Fast forward to the present, and developer Cpasjuste released a port of FBA or Android, called aFBA, bringing the cult favorite onto our phones and allowing arcade games to be played on-the-go.
Prerequisites
- Just one... app installation from "Unknown sources" enabled
Step 1: Download & Install aFBA
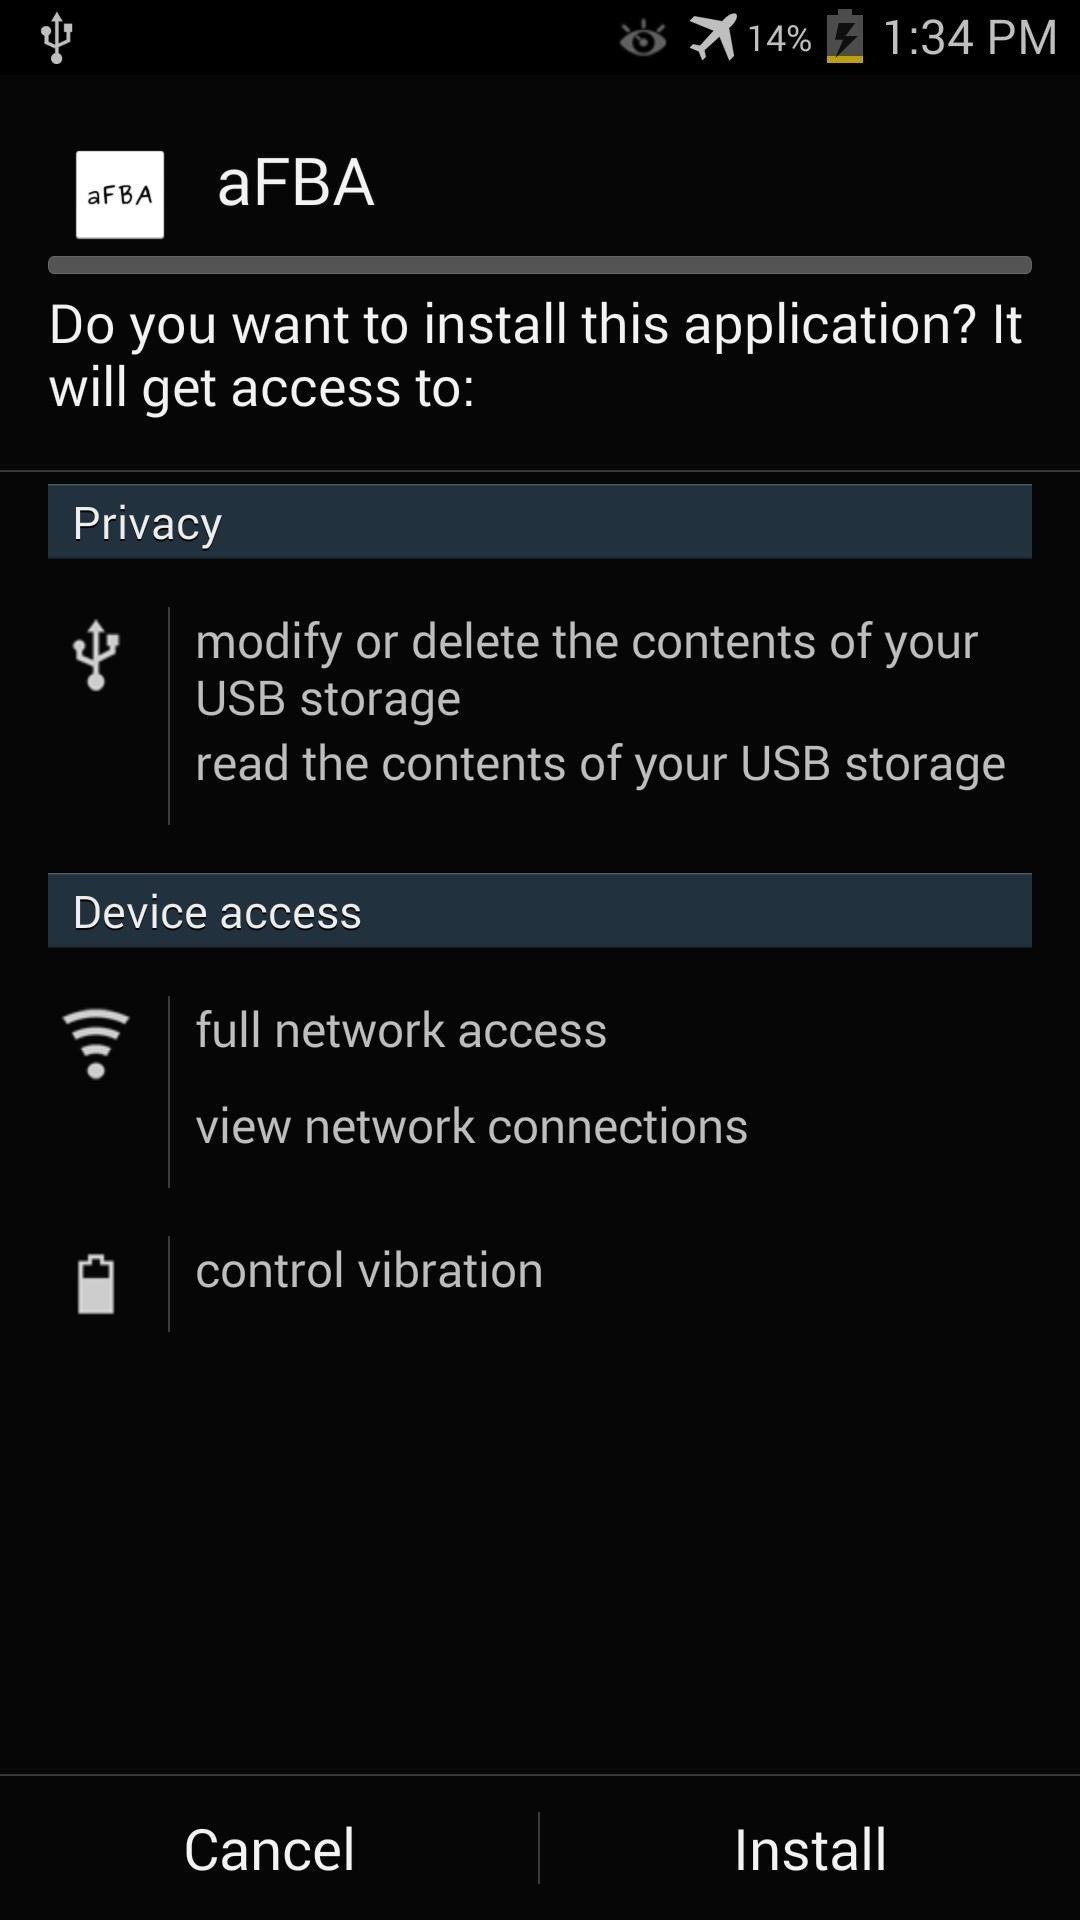
Start by tapping here to visit the official thread on XDA, or download version 1.6 (most-current at the time of this writing) from this link. Once the APK file is downloaded, tap on it to begin installing.
Step 2: Configure aFBA
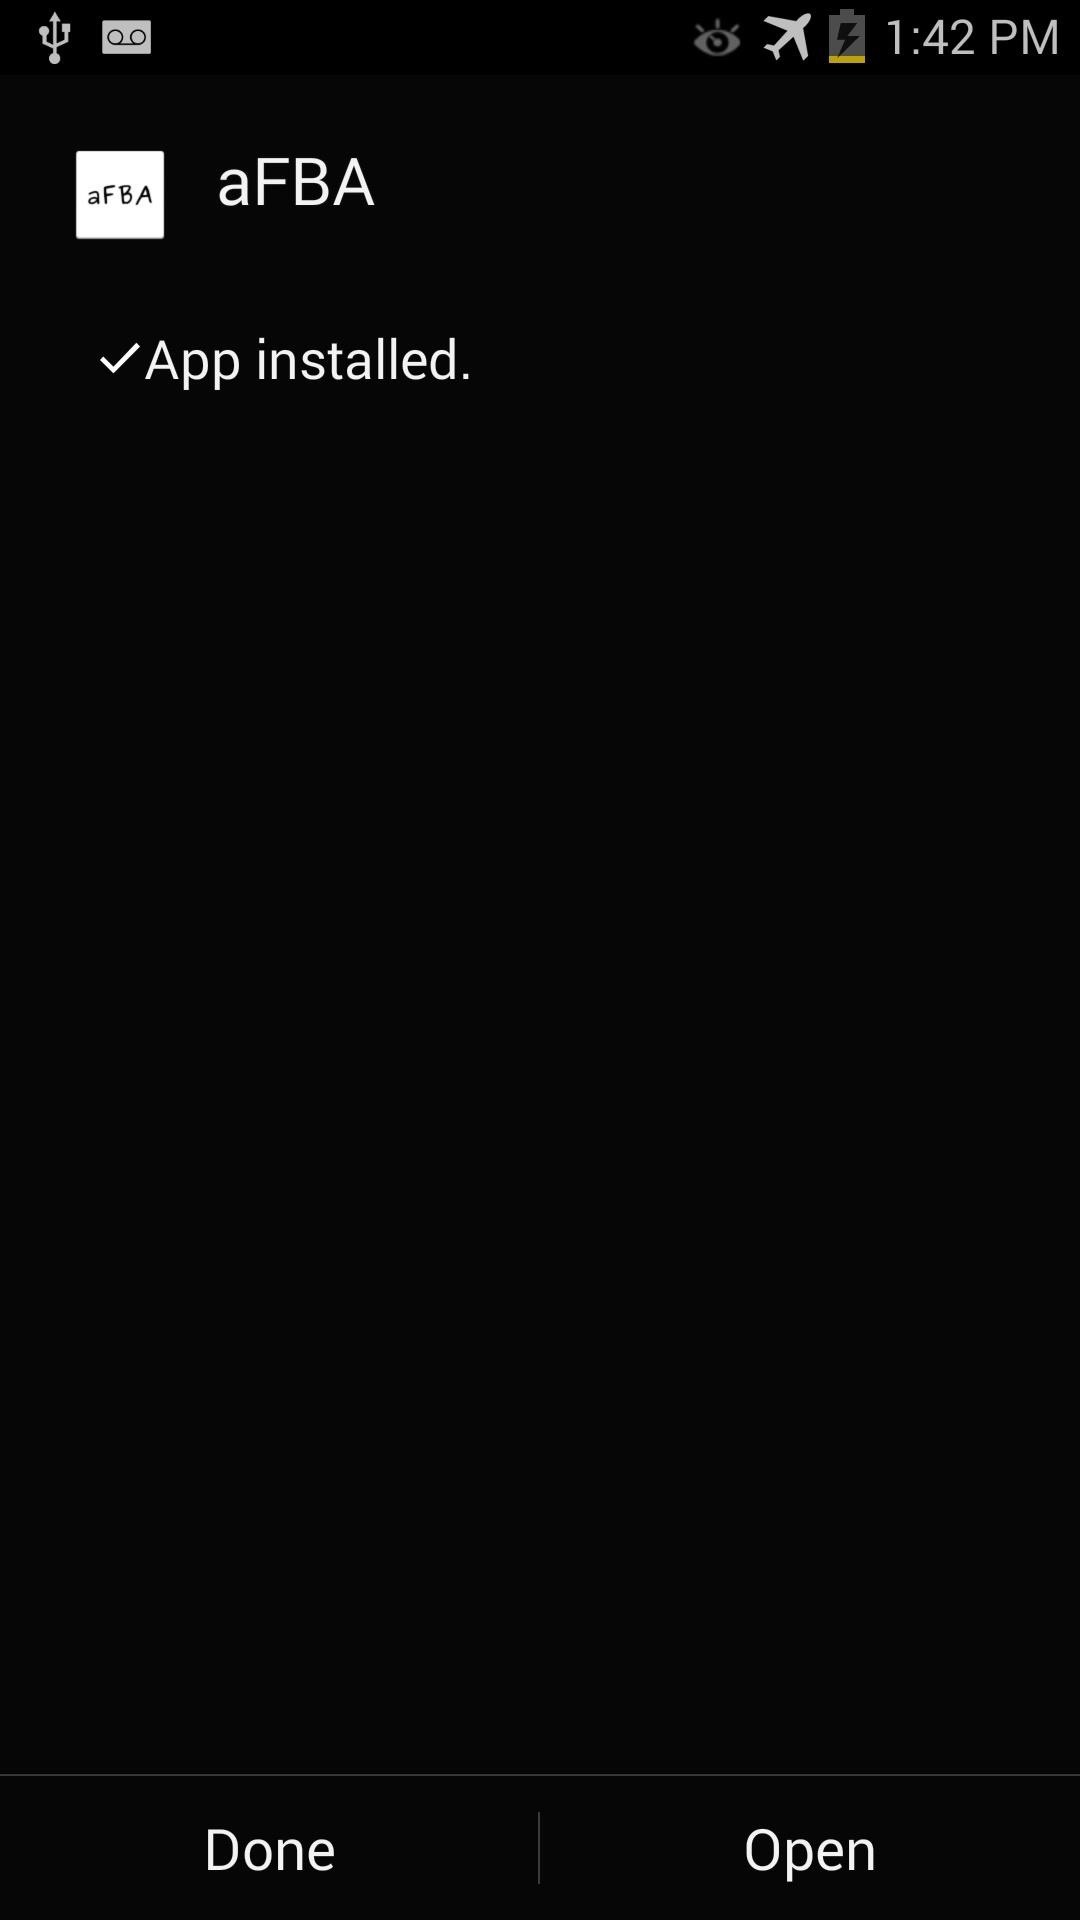
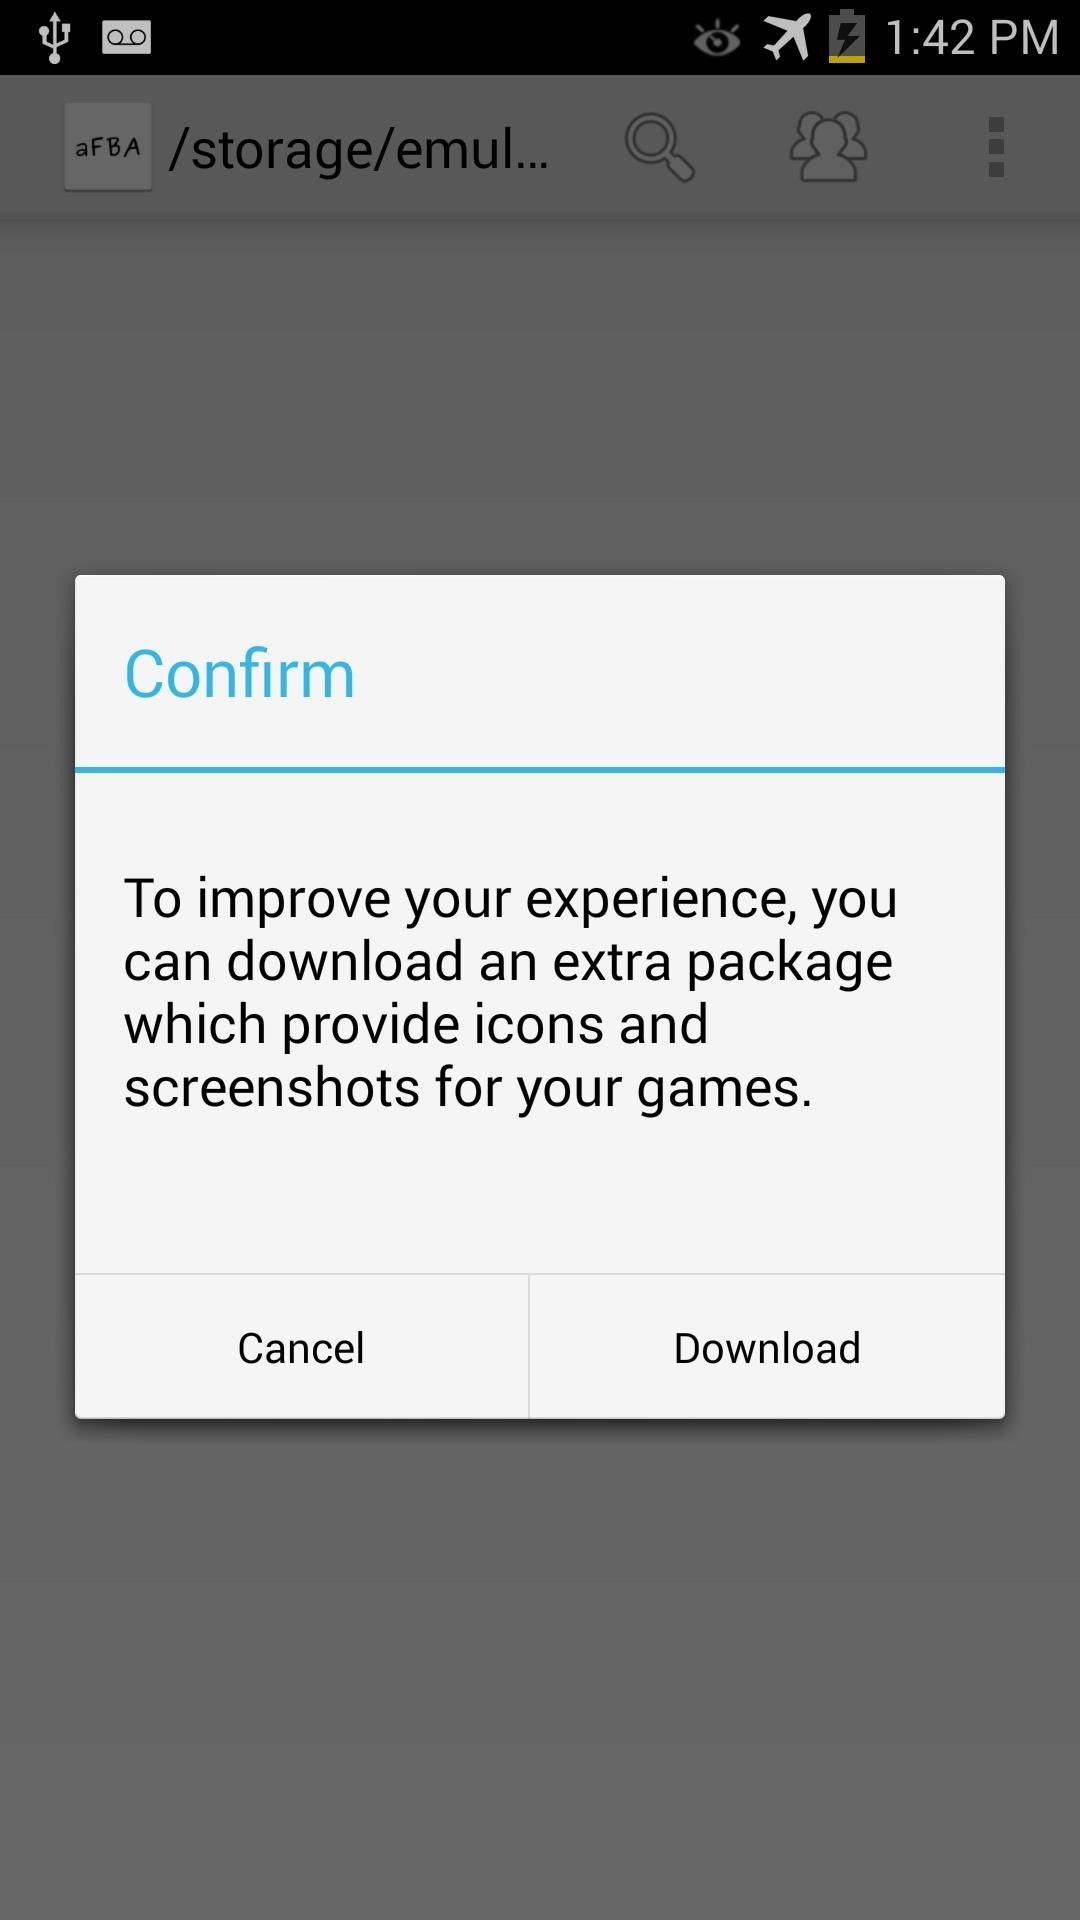
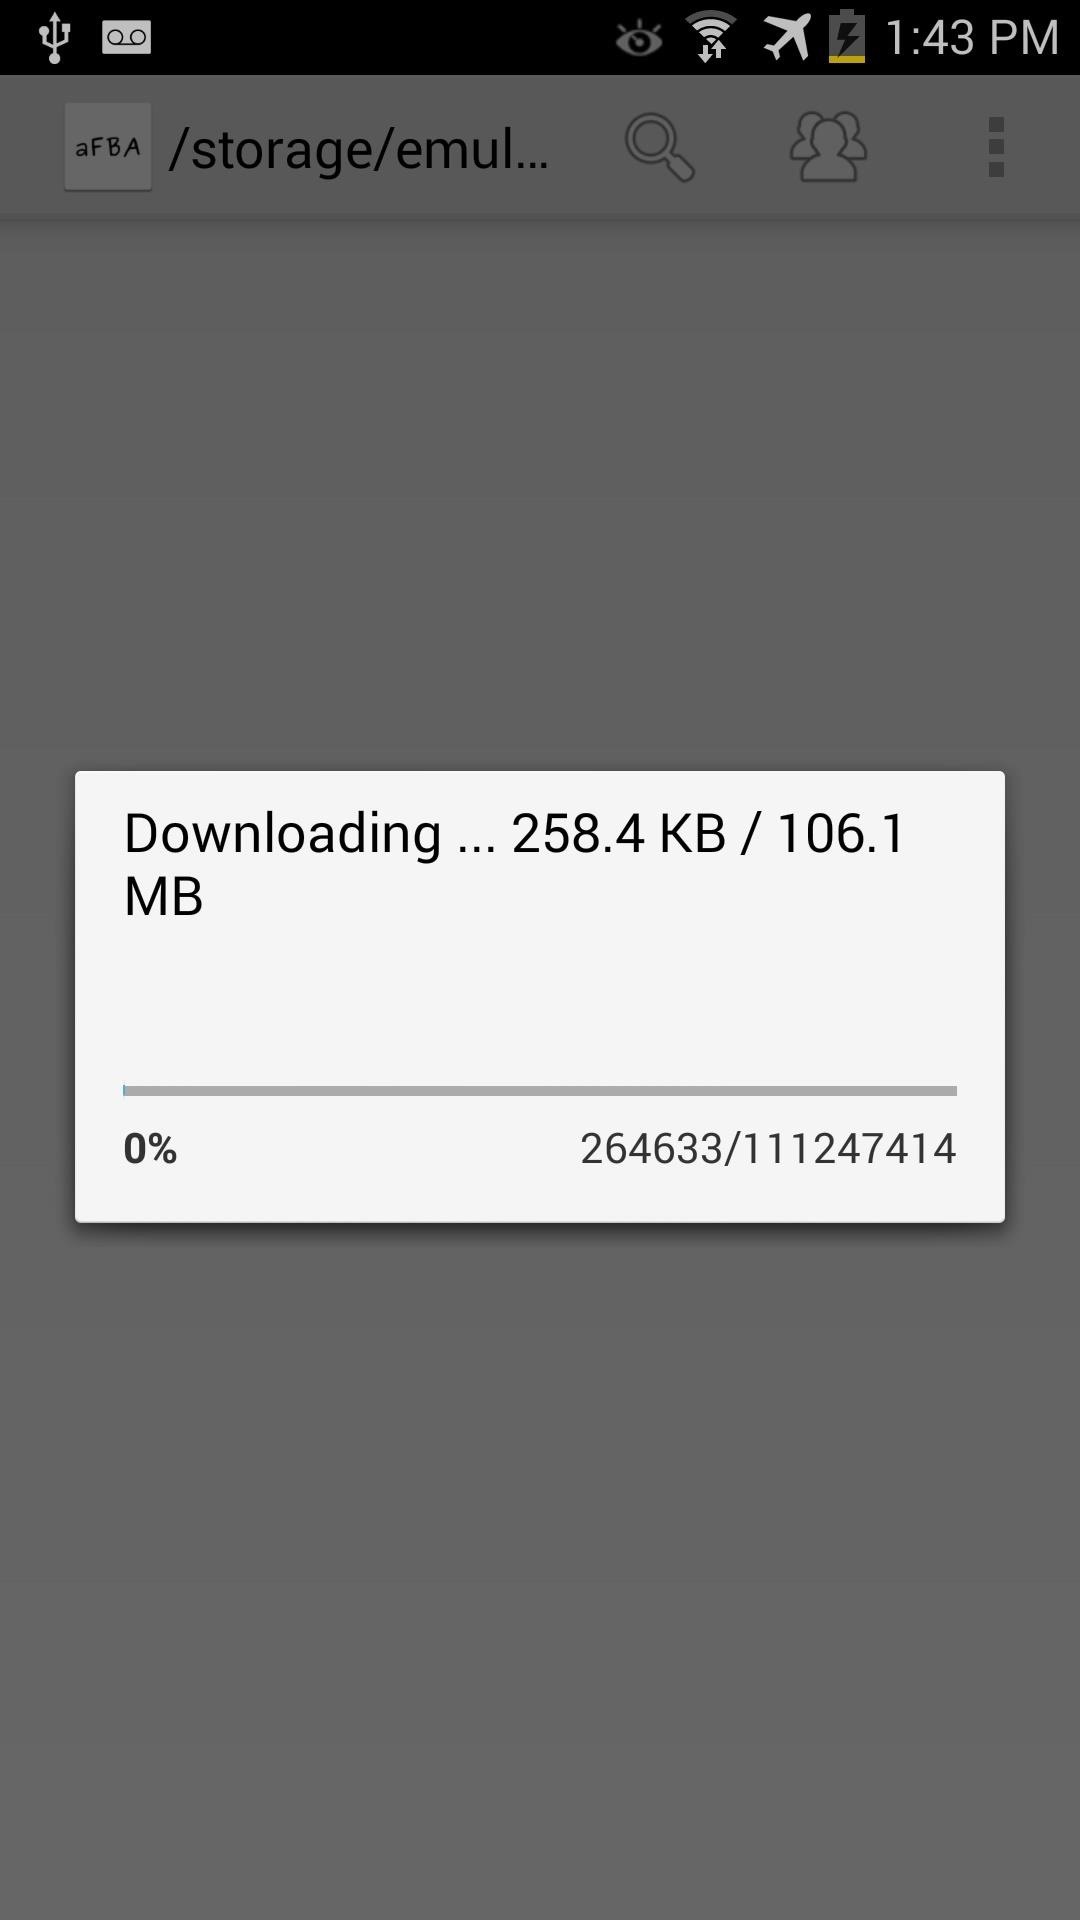
After the installation is done, tap Open to launch aFBA. The emulator will prompt you to download an add-on pack for in-game screenshots and artwork. This is optional, but I recommend having it to make the app menu look nicer. Just tap Download and wait for it to finish, and make sure you're connected to Wi-Fi because the add-on is over 100MB.
When the add-on has finished installing, go ahead and quit the app—it's time to get some games!
Step 3: Downloading Games & ROMs
What are ROMs?
Short for read-only memory, ROMs are the arcade games as raw data taken from the chips on an arcade board. Arcade boards are "dumped" for their ROM data to be used together with an emulator (a piece of software that mimics hardware).
Is this legal to download?
There is a legal grey area when it comes to downloading ROMs. The ROMs themselves are copyrighted, but some emulation fanatics argue since the games no longer make money, there's no harm in downloading them. Others say if you already owned a copy of the arcade game on a different system, then downloading the game as a ROM would be fine since you already bought it. Whether you agree with this argument is really up to you, but you can find plenty of sites hosting ROMs for download with a quick Google search.
What arcade systems are supported?
Currently supported systems include: Cave, Neo Geo, Sega System 16 (and similar), System 18, CPS-1, CPS-2, CPS-3, X-Board, Y-Board, Toaplan, Taito, and Psikyo 68EC020. Make sure to check in on the app's thread to stay up-to-date on supported systems.
Step 4: Game On!
Place any downloaded ROMs in the /SDCard/aFBA/roms/ folder on your device, then launch aFBA and it will list all your available games.

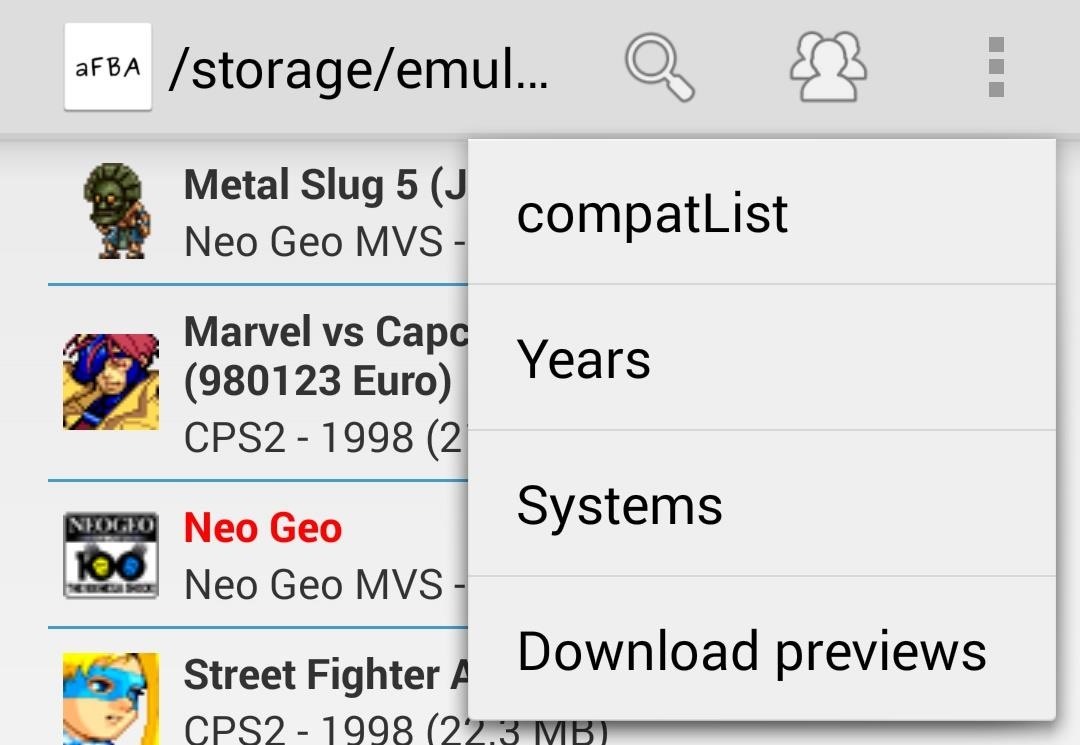
You can search for a game by tapping on the magnifying glass icon, or hide clones of games from being showing by tapping the icon with three heads. You can also sort by compatibility, year, or game system by tapping the three-dot Options menu key.
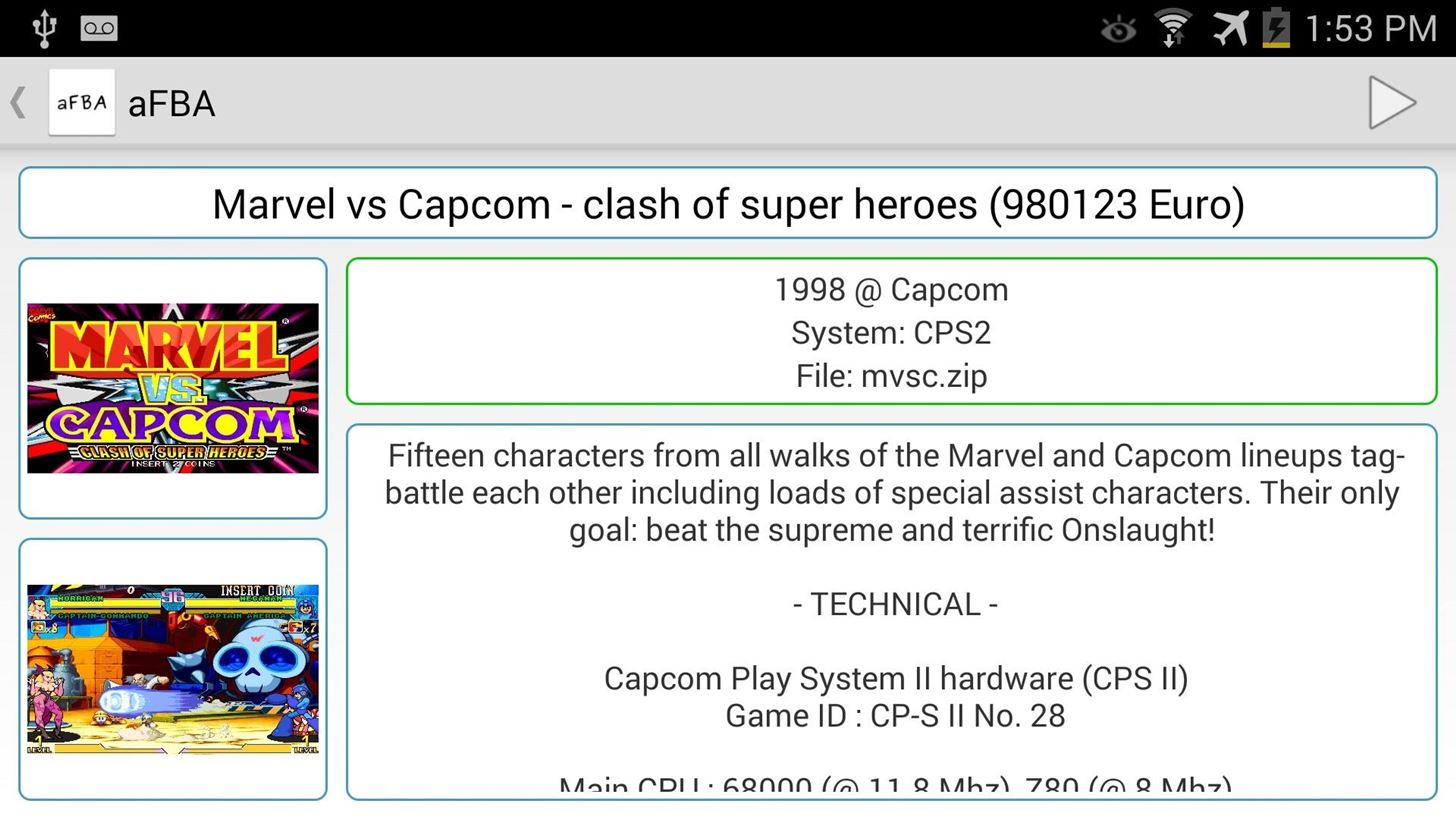
Tapping on a game will bring up more info about it, along with technical info about the arcade system it runs on.
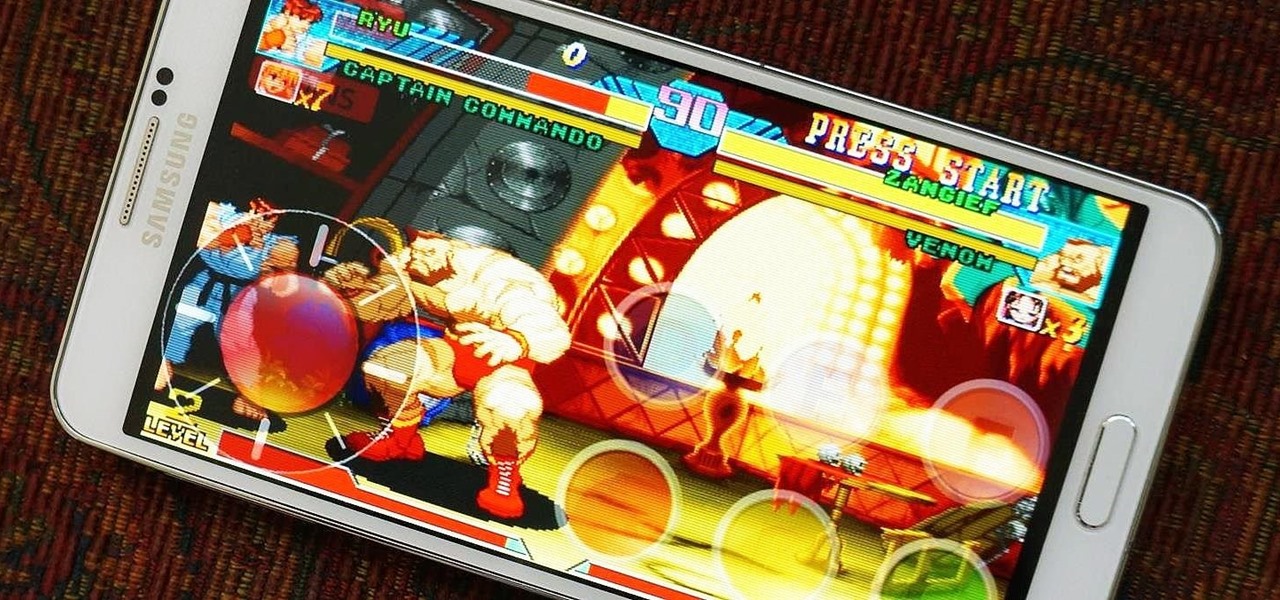
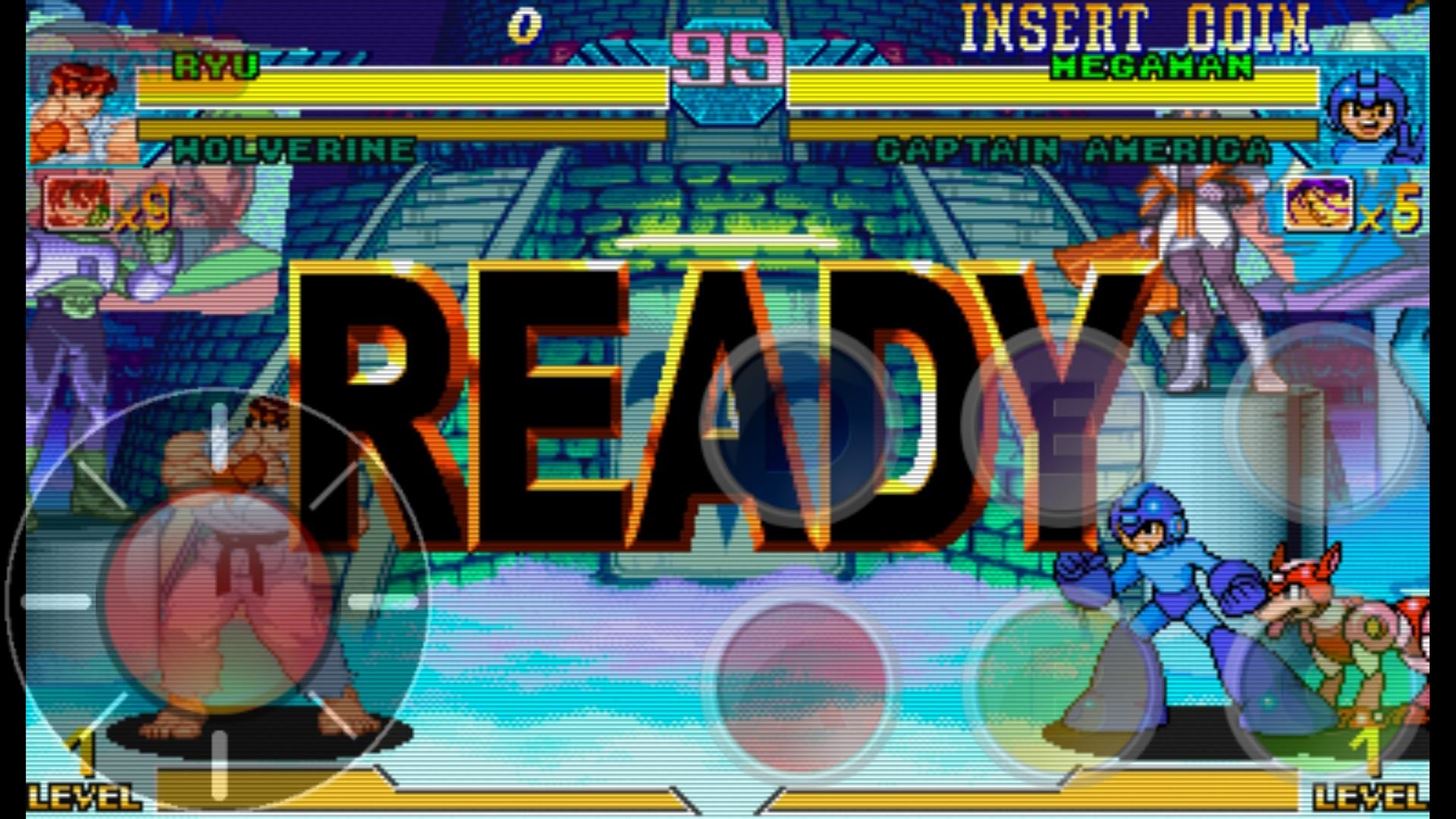
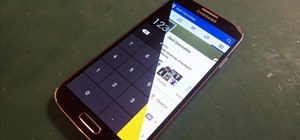
To start a game, tap the play icon in the upper right. Since you obviously can't insert a coin, tap the overlay for COINS to credit your game, then then tap START to begin. Here are a couple screenshots of Marvel vs. Capcom running on my Samsung Galaxy Note 3.
Step 5: Optional Settings to Configure
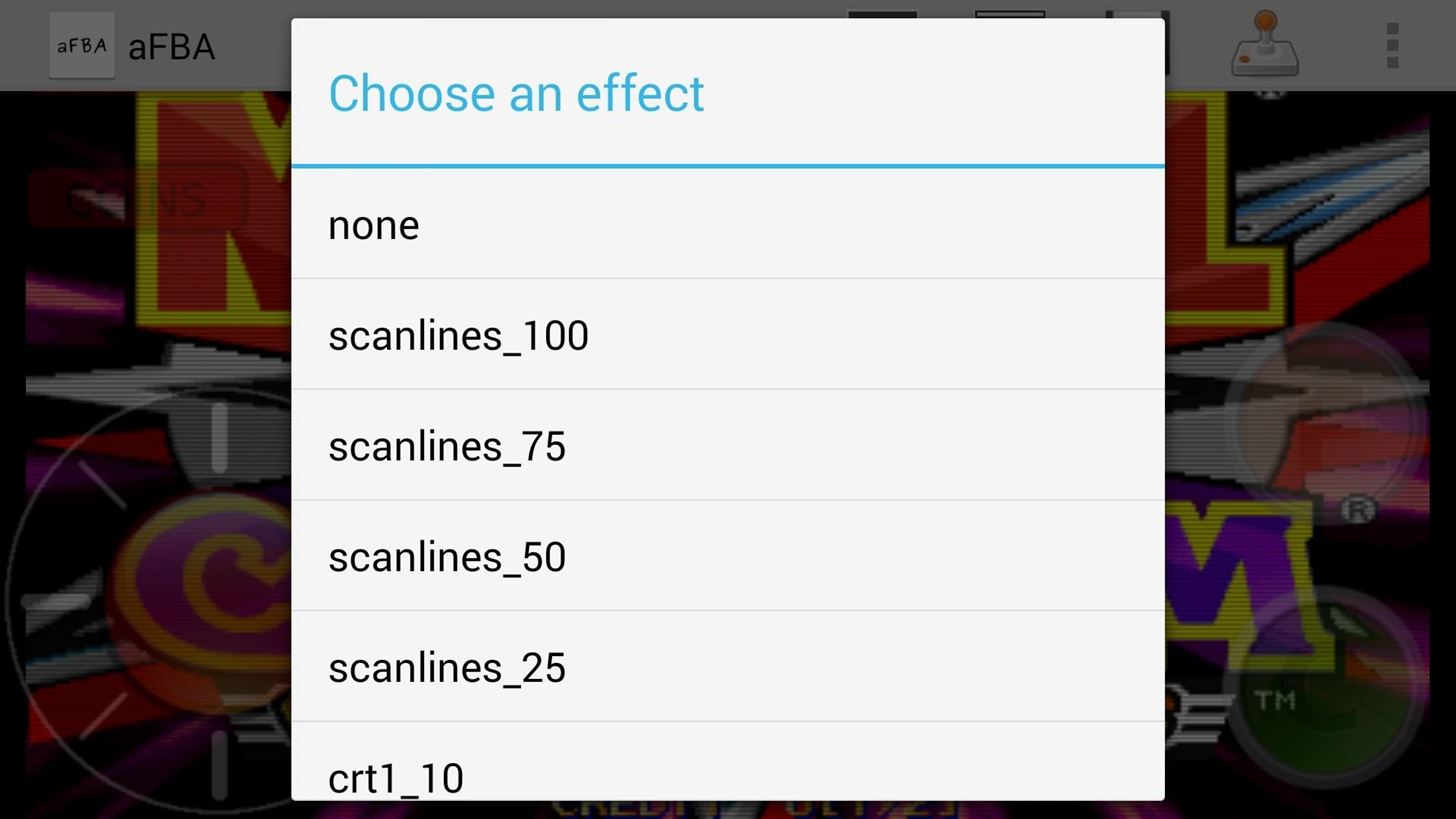
At this point, you're done setting up aFBA, as the default in-game settings will work for all games, but there are a few settings up top. From left to right (below) are options for screen orientation and scaling, video filters, save game (disk icon), and button mapping (joystick icon).

You can choose to have scanlines overlaid and their amount (25%, 50%, 75%) to keep the authentic arcade-look, or switch to a CRT overlay filter.
If you don't like the preset button configuration, you can customize it to your liking.
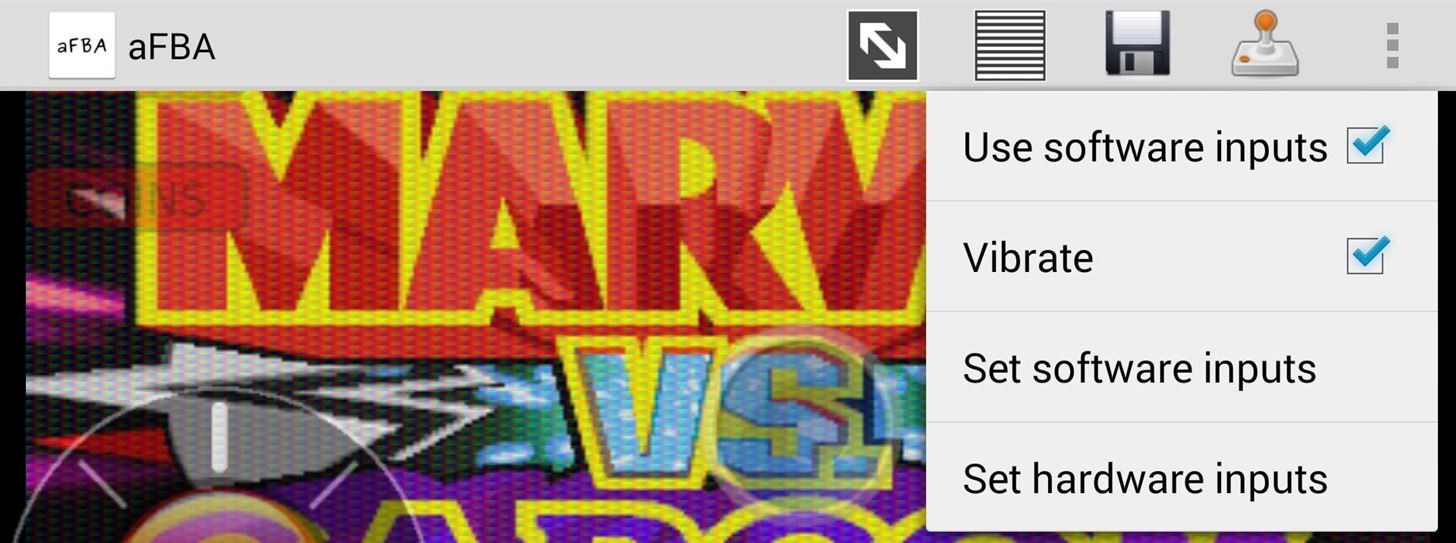
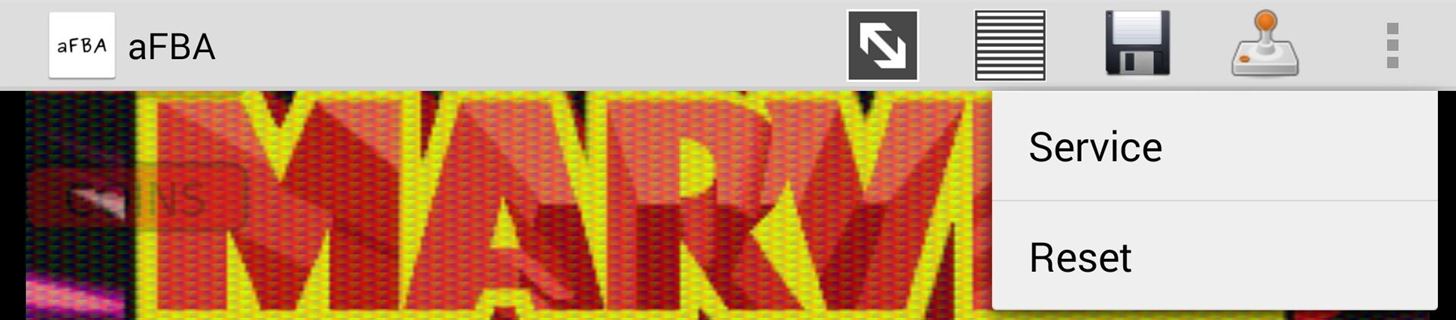
Lastly, tapping the settings menu will allow you to do an in-game reset or get into the game's service menu (only used on real arcades for diagnosing issues).
That's all there is to it. Let us know in the comments what you're favorite blast-from-the-past games you've revived on Android with aFBA.
Just updated your iPhone? You'll find new emoji, enhanced security, podcast transcripts, Apple Cash virtual numbers, and other useful features. There are even new additions hidden within Safari. Find out what's new and changed on your iPhone with the iOS 17.4 update.


Be the First to Comment
Share Your Thoughts